> ## Documentation Index
> Fetch the complete documentation index at: https://docs.freshlimepay.com/llms.txt
> Use this file to discover all available pages before exploring further.
# Integrate PayPal
> Generate PayPal API credentials and connect them to FreshLimePay Cloud.
This guide walks you step by step through creating PayPal Live API credentials and connecting them to FreshLimePay Cloud.
You will be ready to accept real PayPal payments by the end of this guide.
A PayPal Business
account is required to generate API credentials and accept payments.
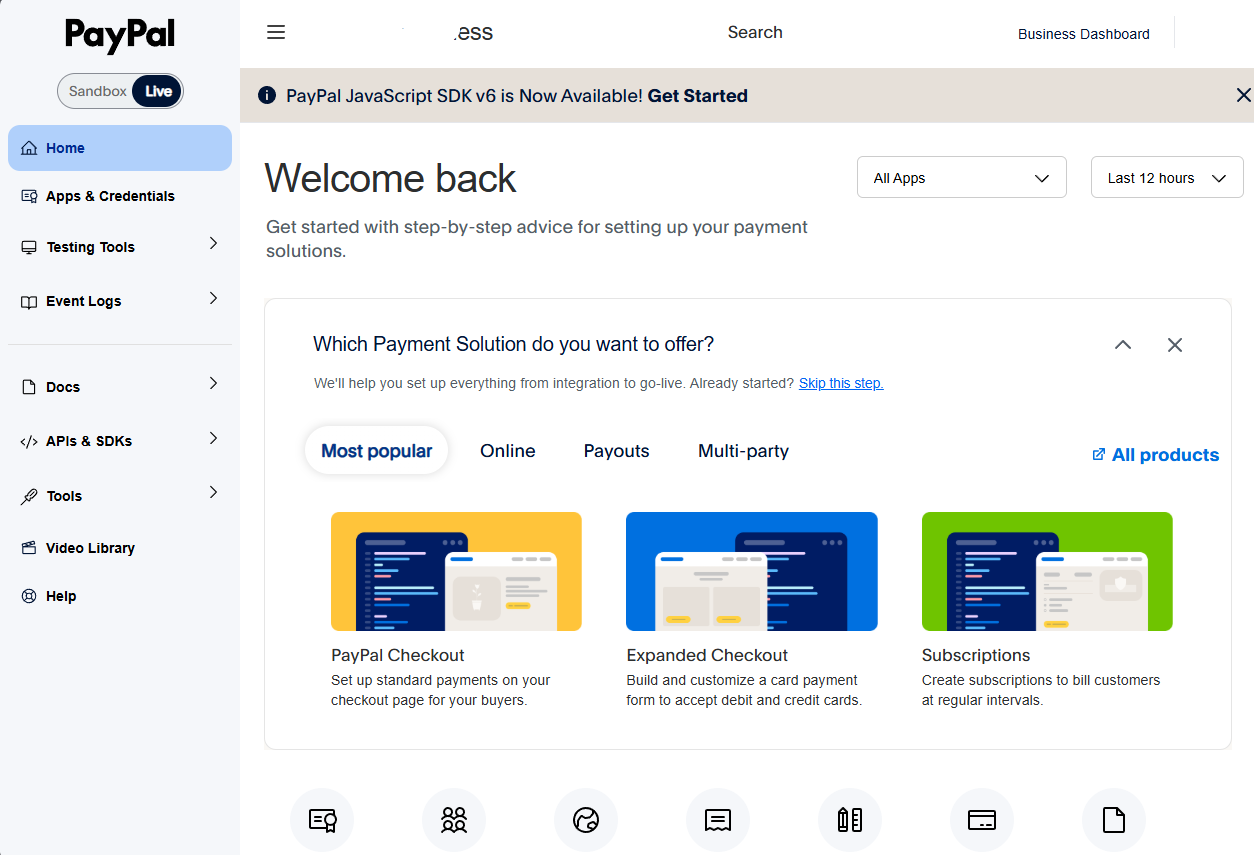
## 1. Access the PayPal Developer Dashboard
Go to the official PayPal Developer portal to begin setting up your API credentials.
[Open PayPal Developer Dashboard](https://developer.paypal.com/dashboard)
## 2. Choose the Correct Environment
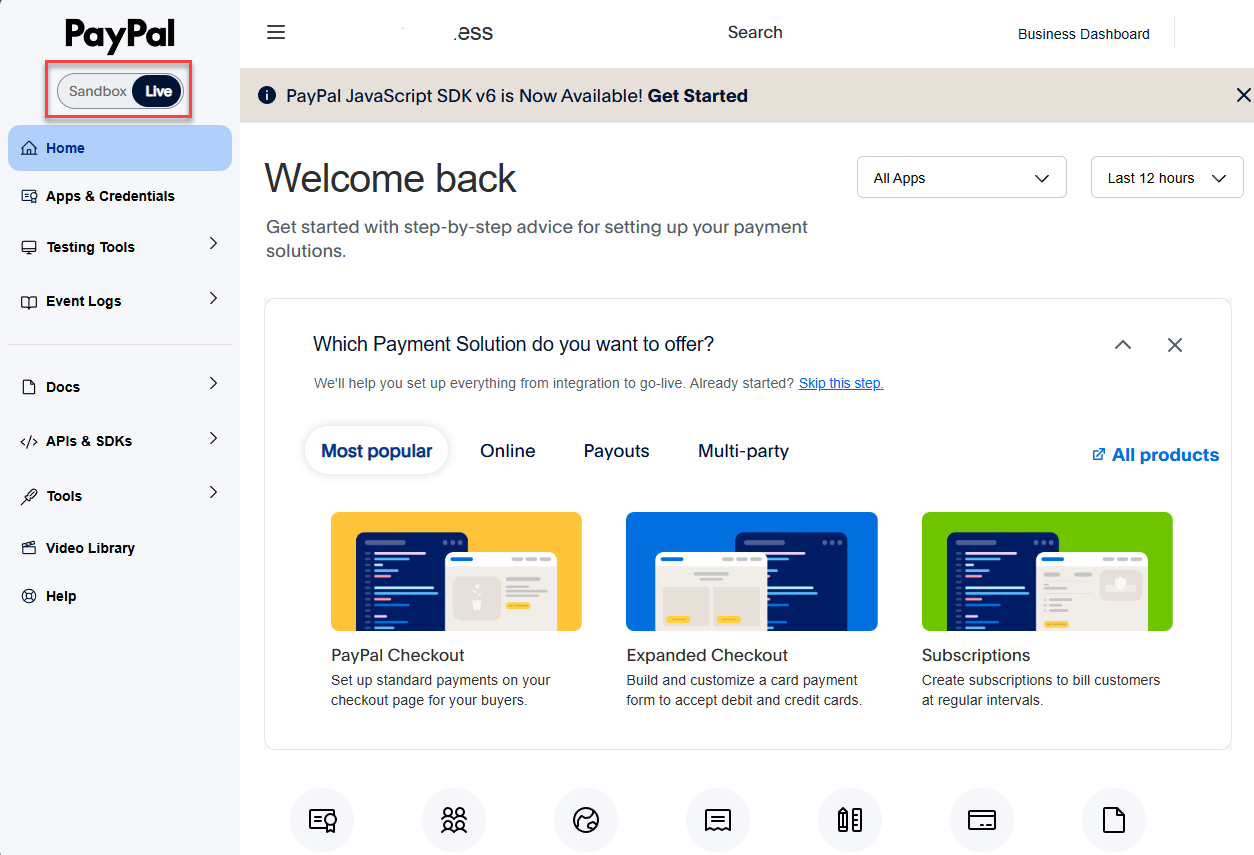
Select the environment where you want to create your credentials:
* **Sandbox** - for testing and development
* **Live** - for processing real transactions
For this guide, we will generate **Live** credentials.
## 3. Create a New REST API App
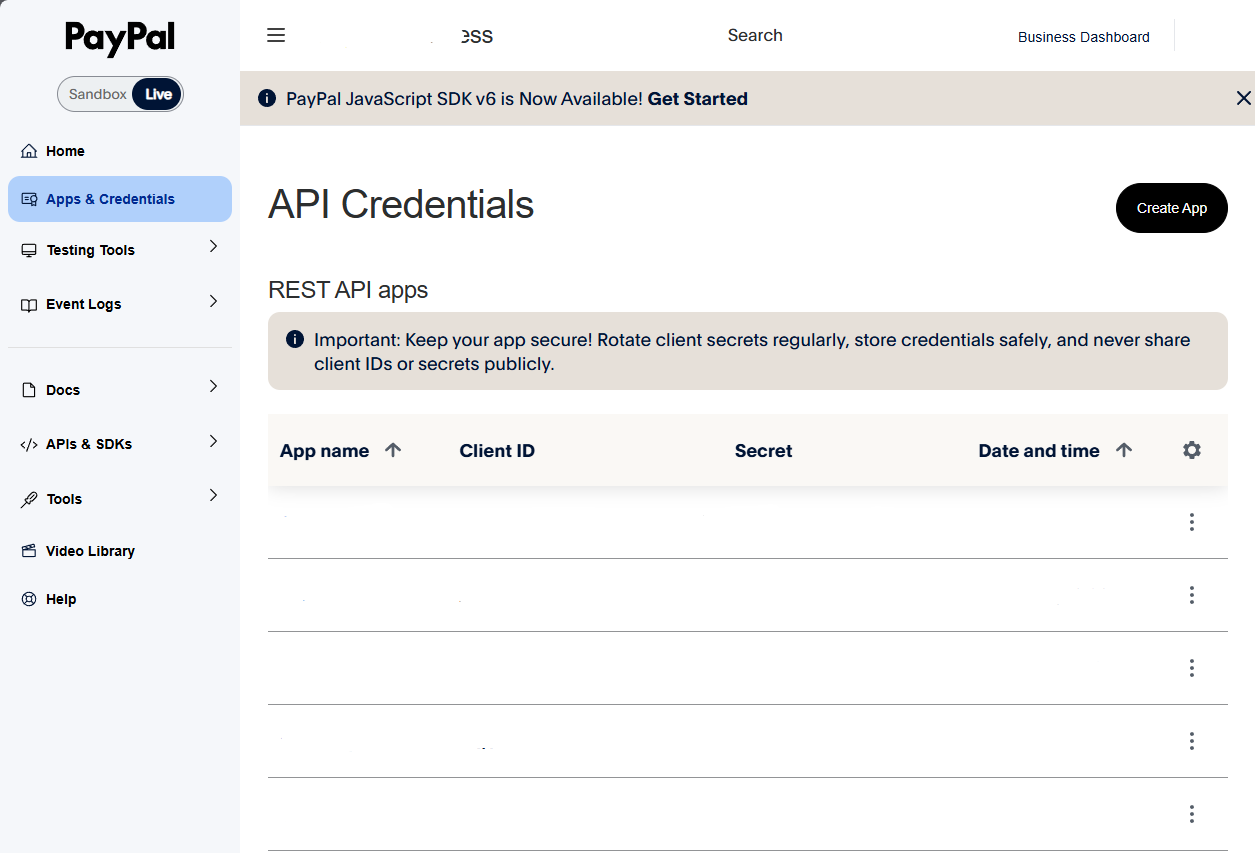
1. Click **Apps & Credentials**\\
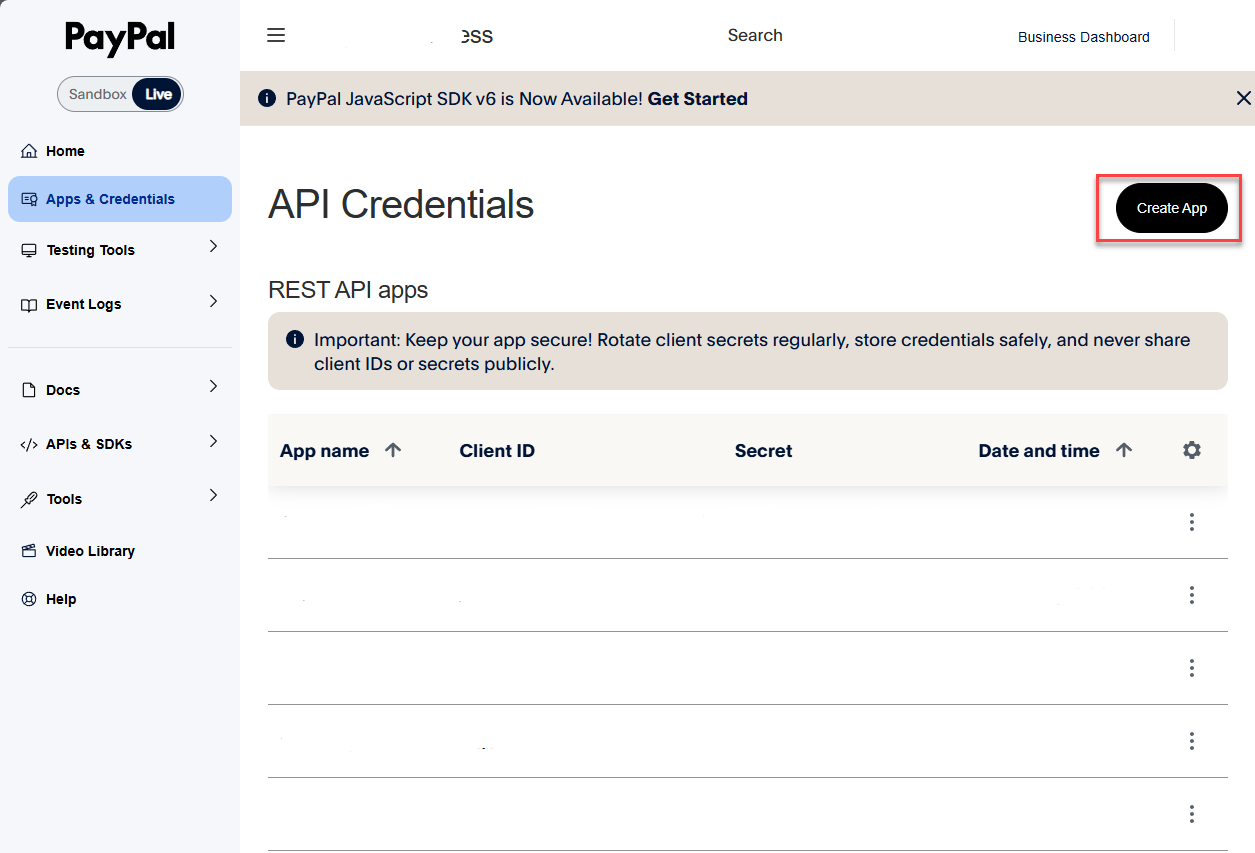
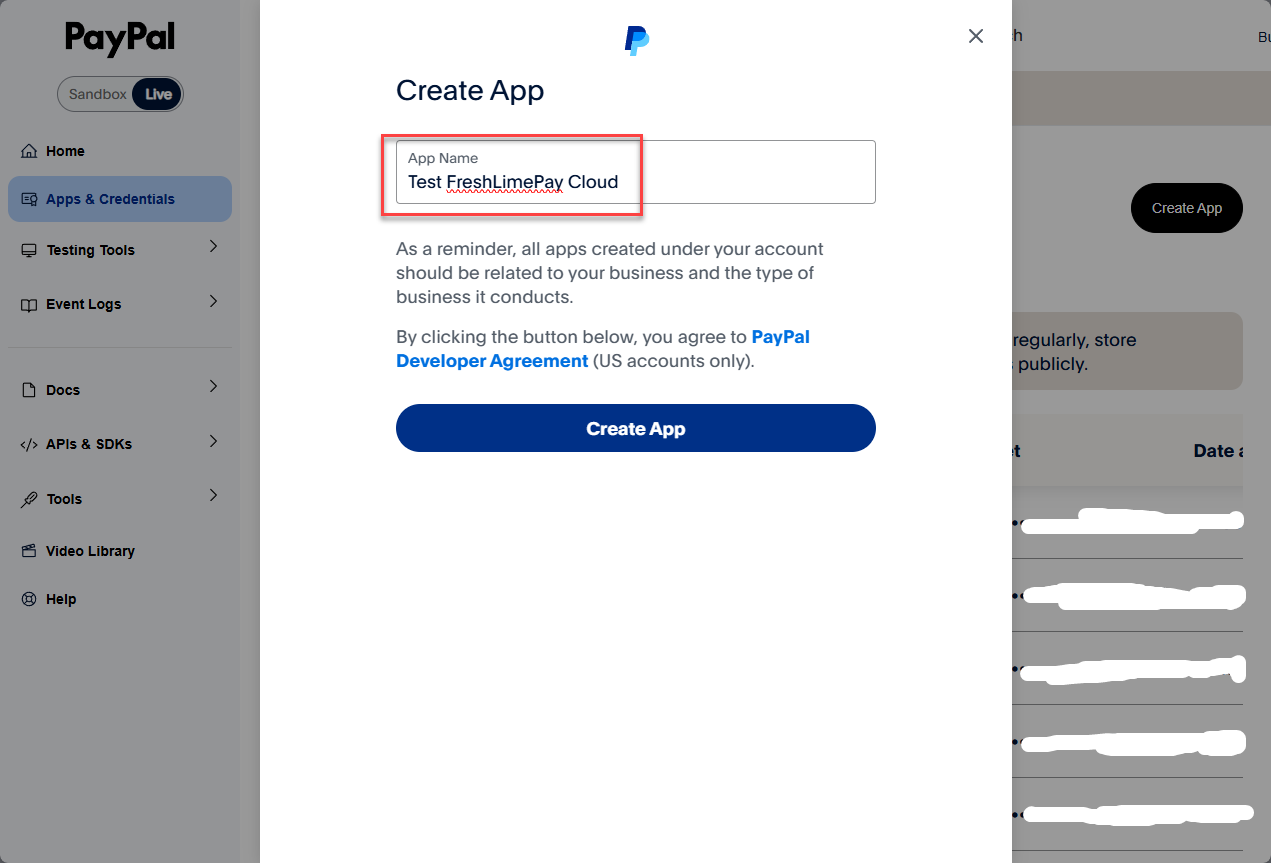
2. Click **Create App**\\
3. Enter a name for your app\
Example: **FreshLimePay Cloud Live App**\\
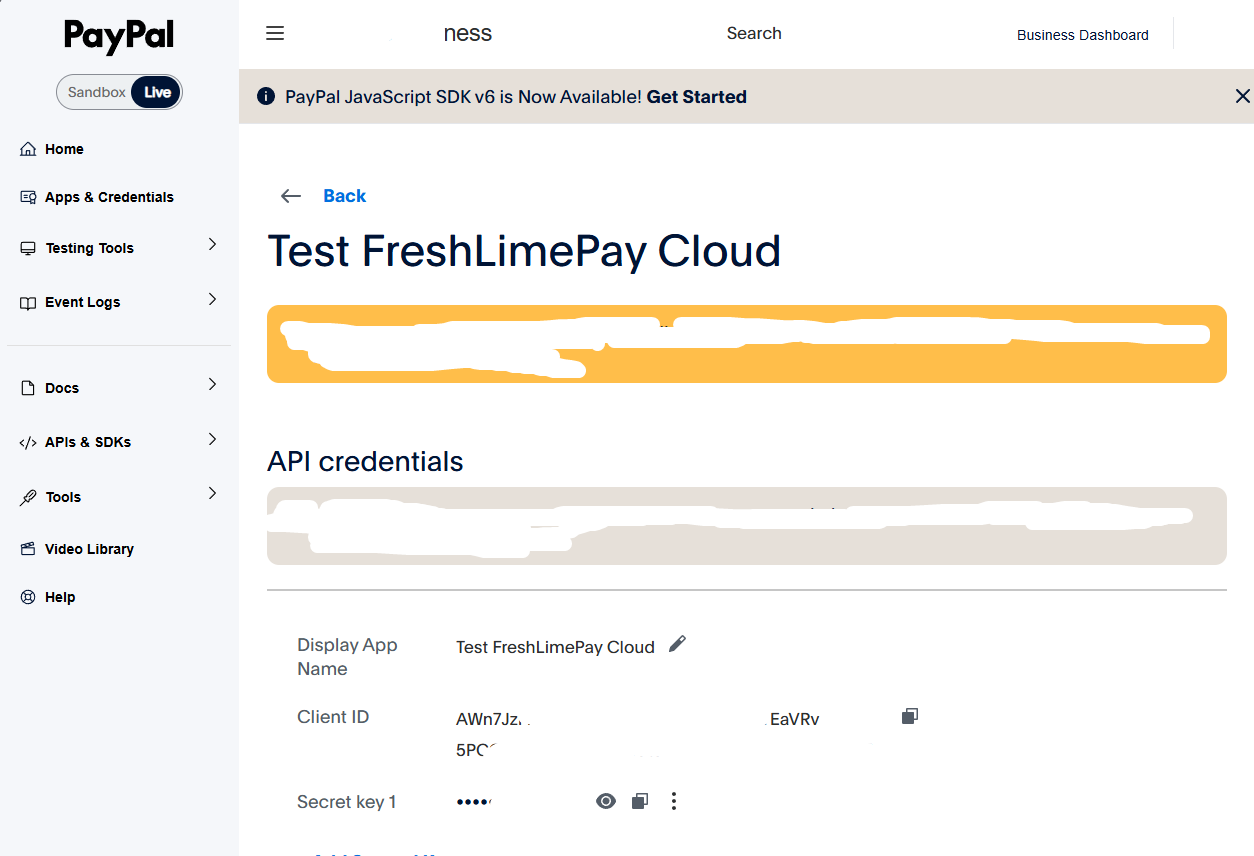
4. Review your app settings\\
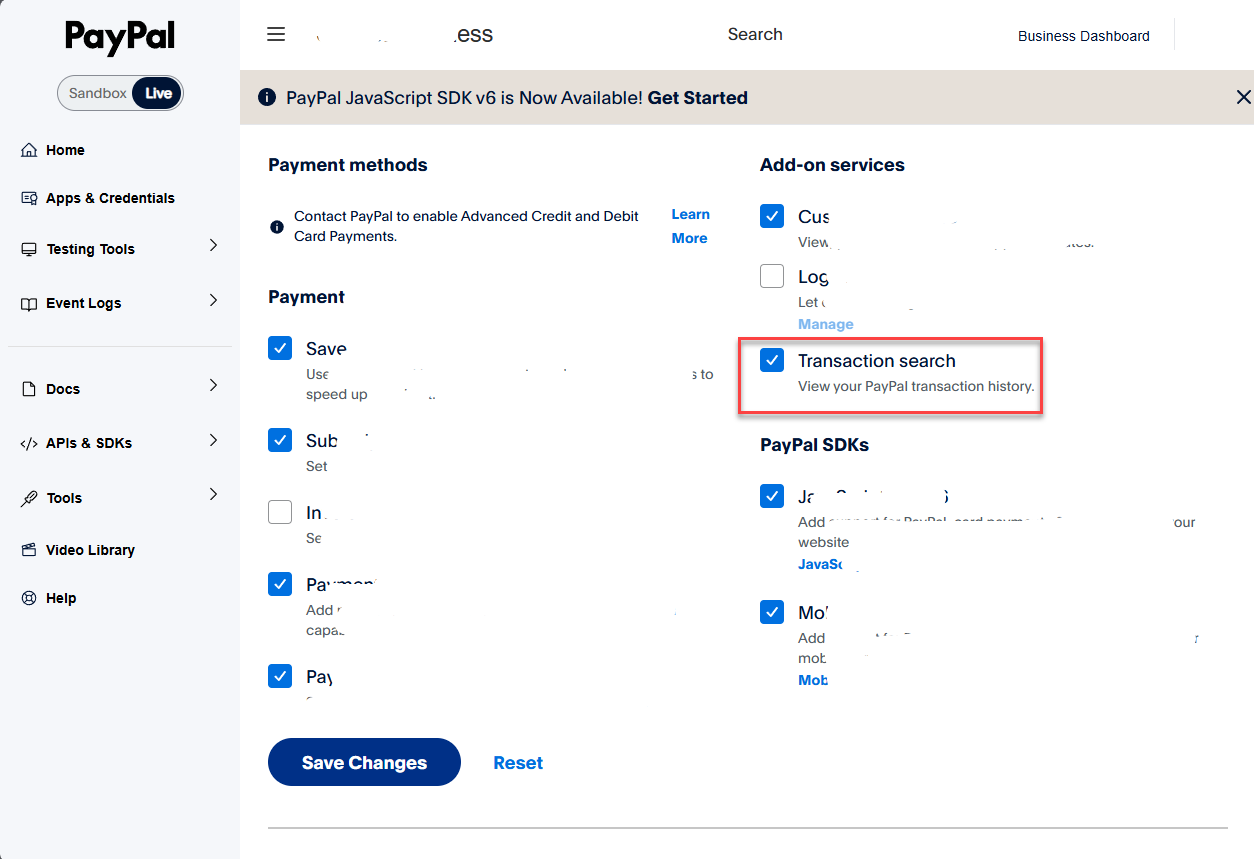
5. Enable **Transaction Search**\
This permission allows FreshLimePay Cloud to sync your latest transaction data.\\
## 4. Copy Your Client ID and Secret
Once the app is created, your credentials will be visible immediately.
* Client ID
* Secret
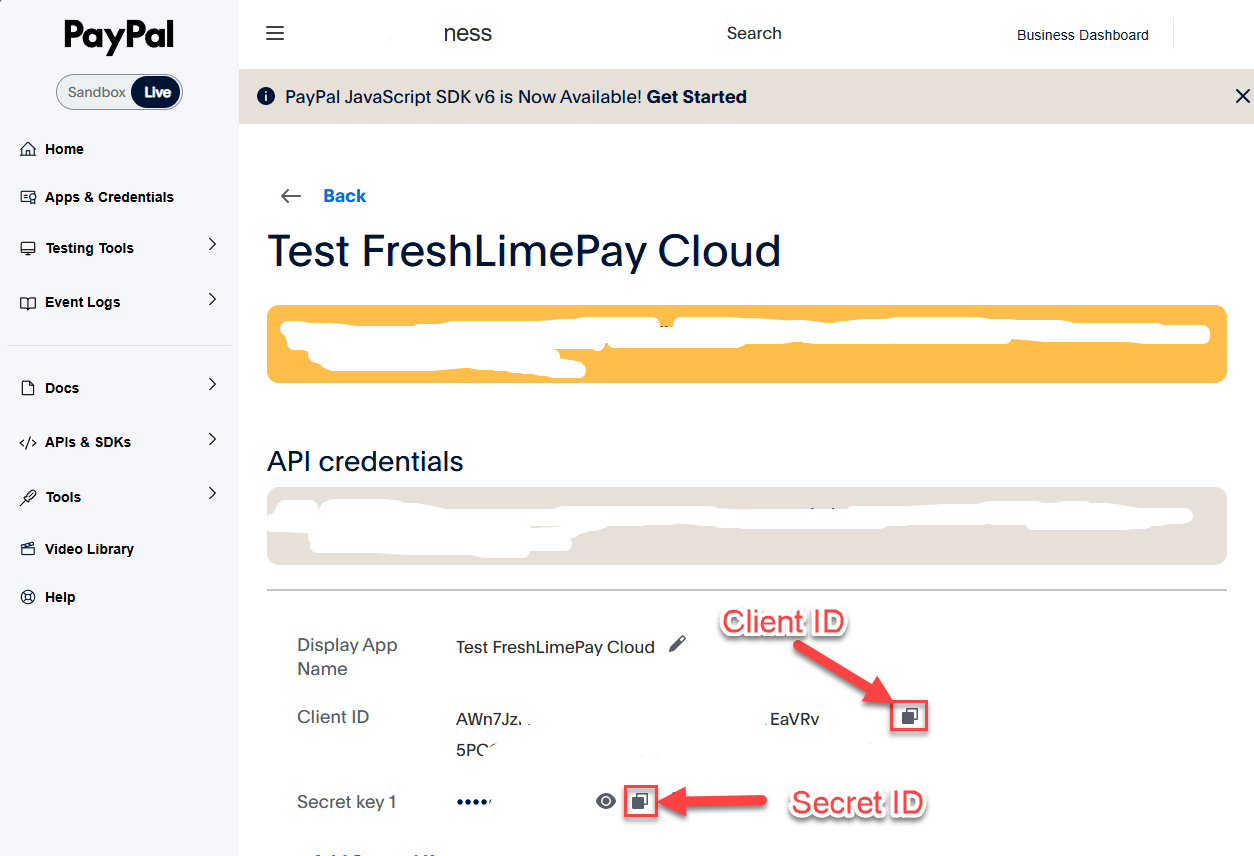
Keep your Secret private. Never expose it publicly.
## 5. Add Your Credentials to FreshLimePay Cloud
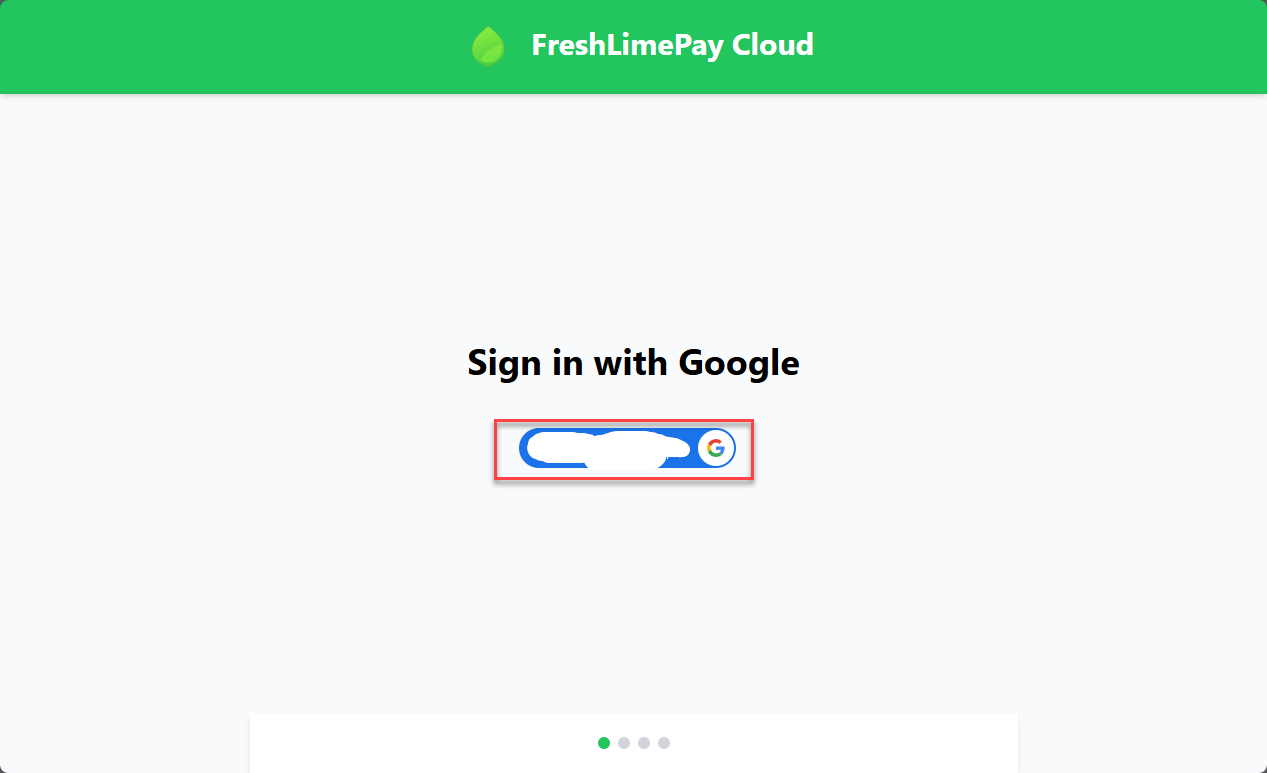
### Sign in
Sign in to FreshLimePay Cloud using your Google account.
### Update PayPal settings
Go to your PayPal settings page:
[https://cloud.freshlimepay.com/get-started/update-settings](https://cloud.freshlimepay.com/get-started/update-settings)
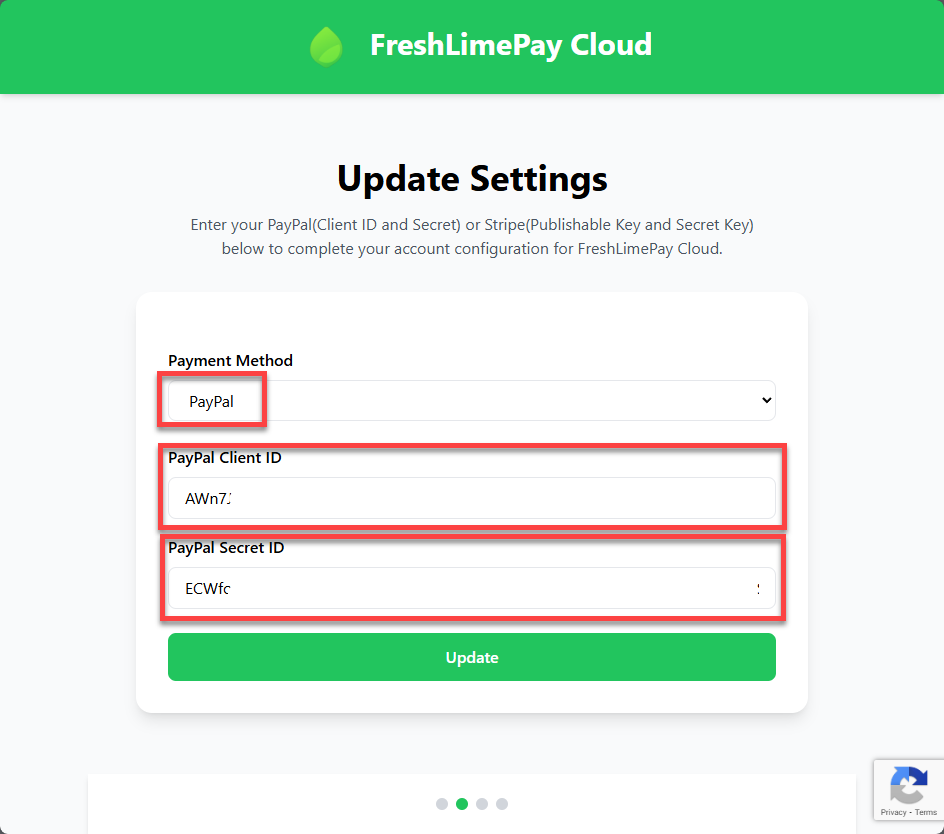
Paste your **Client ID** and **Secret**, then click **Update**.
### Start accepting payments
After connecting:
* Add products for one-time or subscription payments
* Generate checkout buttons or links
* Embed them on your site or app
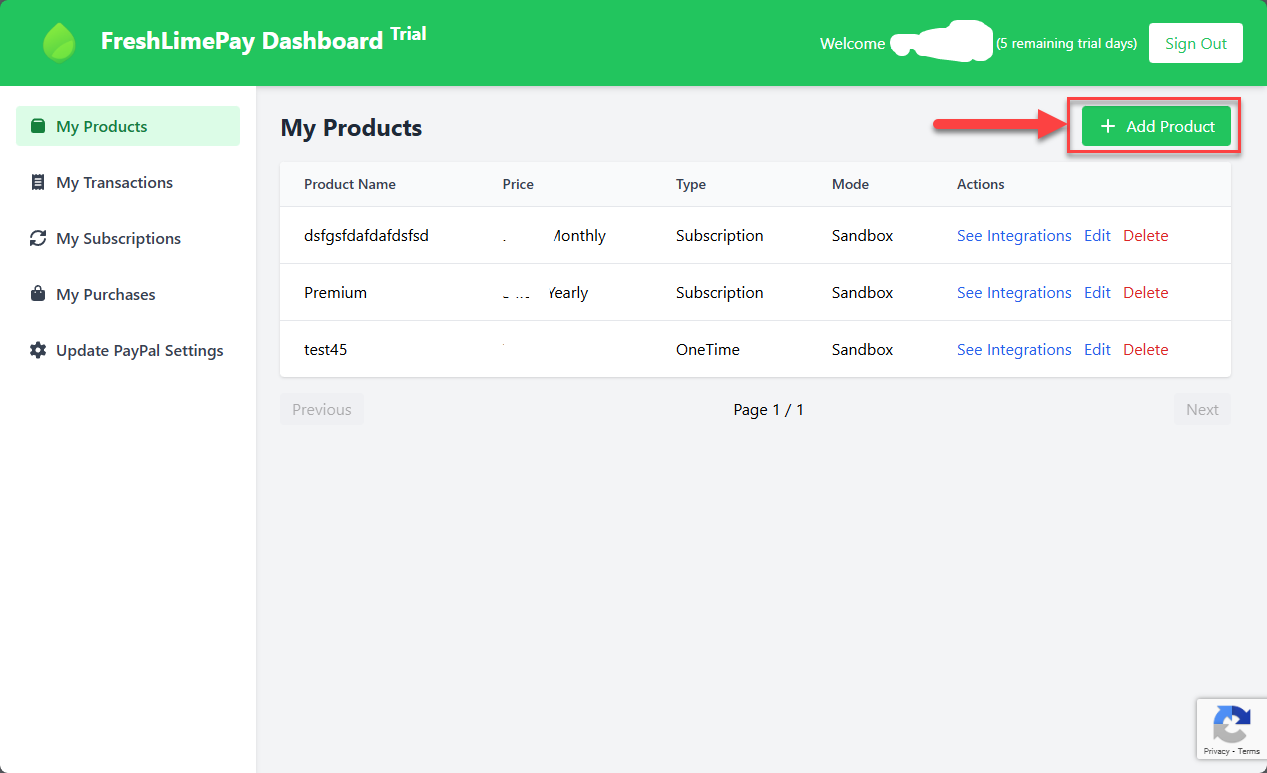
You can now accept PayPal payments directly into your account.
## What's next?
Set up a one-time PayPal checkout button and embed it directly on your website or app.
Create subscription-based PayPal buttons for recurring payments with secure, automatic payouts.