> ## Documentation Index
> Fetch the complete documentation index at: https://docs.freshlimepay.com/llms.txt
> Use this file to discover all available pages before exploring further.
# Integrate Stripe
> Generate Stripe Publishable/Secret Keys and connect them to FreshLimePay Cloud.
This guide walks you step by step through creating Stripe Publishable/Secret Keys and connecting them to FreshLimePay Cloud.
You will be ready to accept real Stripe payments by the end of this guide.
A Stripe Business
account is required to generate Publishable/Secret Keys and accept payments.
## 1. Sign in Stripe
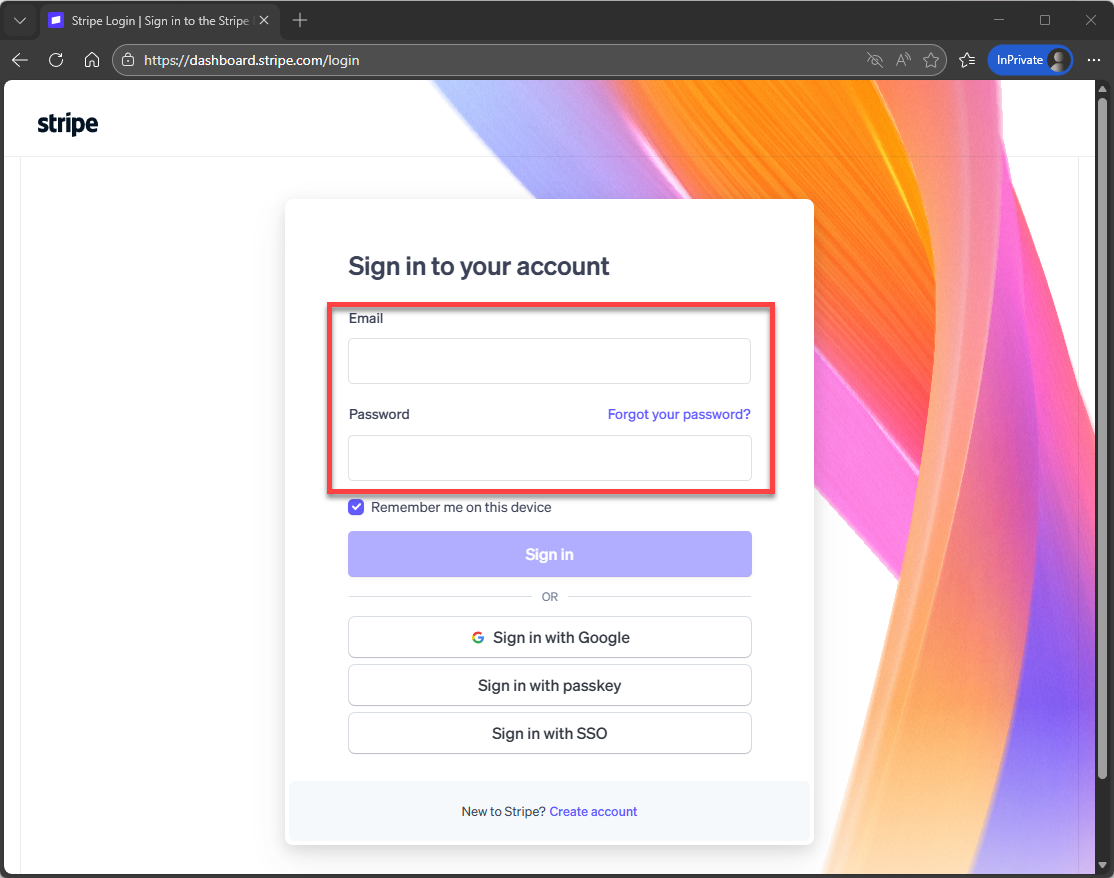
Go to the official Stripe Login portal [here](https://dashboard.stripe.com/login) to begin sign-in with your Stripe business account.
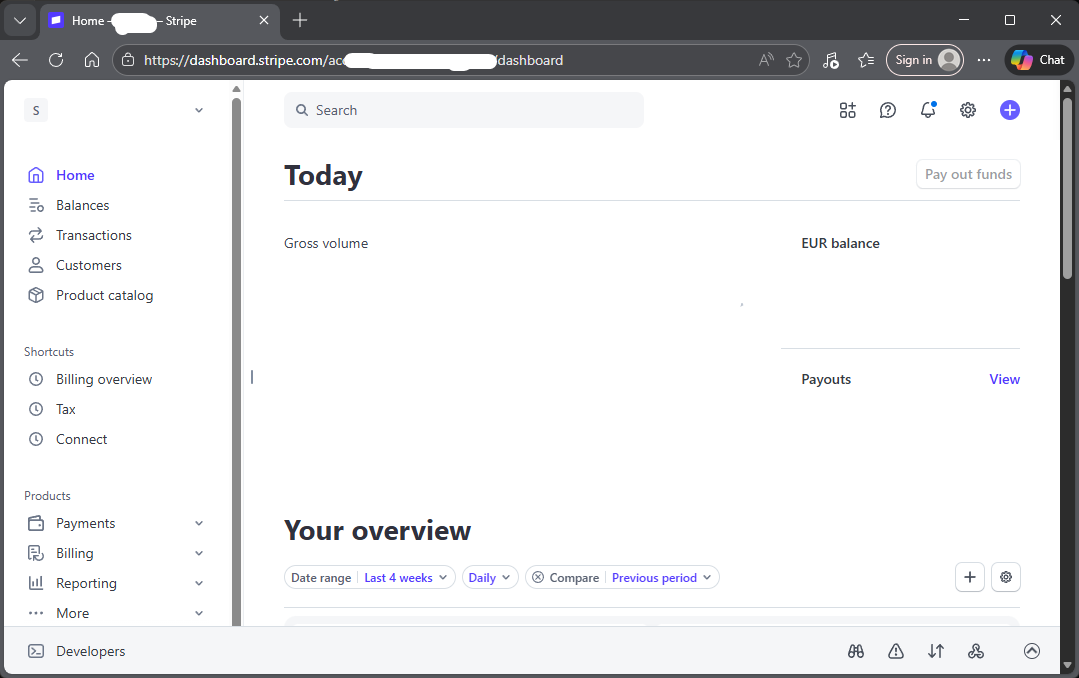
And then you will see the dashboard:
## 2. Create new Stripe Account
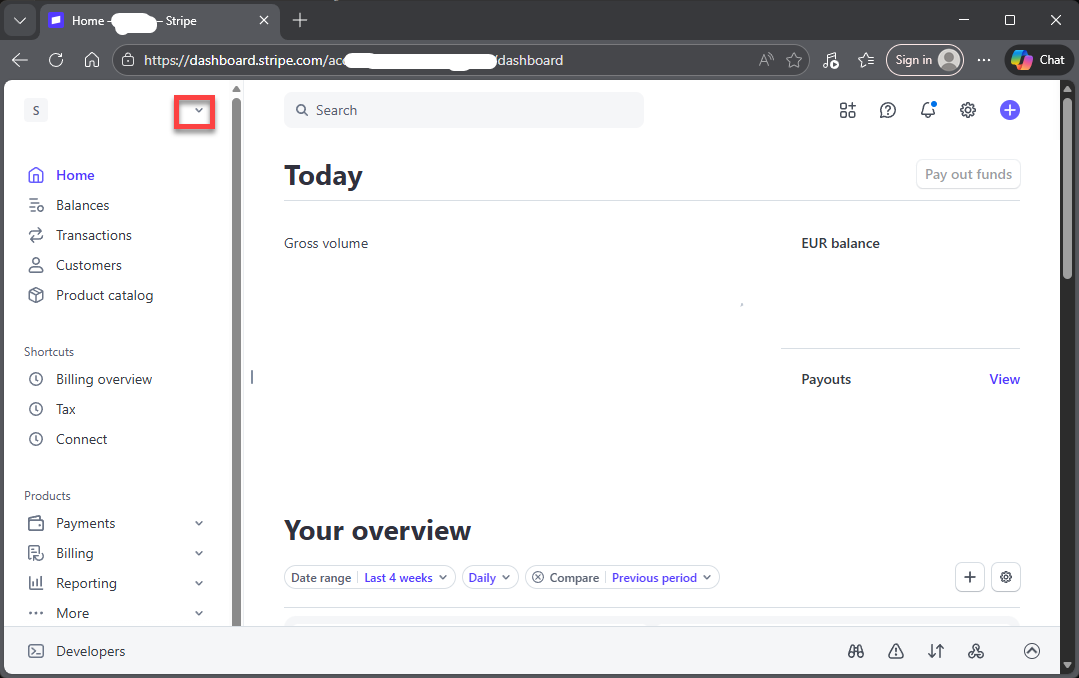
Click on the icon to expand the panel:
Then, click "Create Account":

Next, a dialog will be shown and click Next:
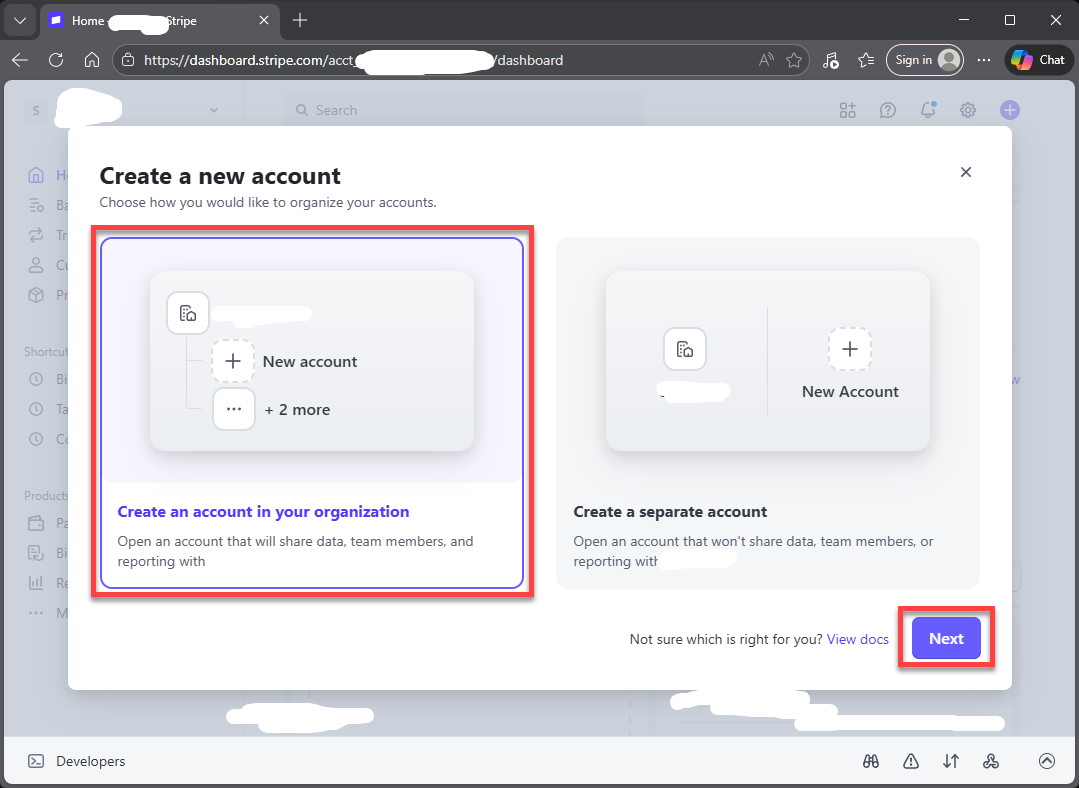
Next, a new dialog will be shown like this:
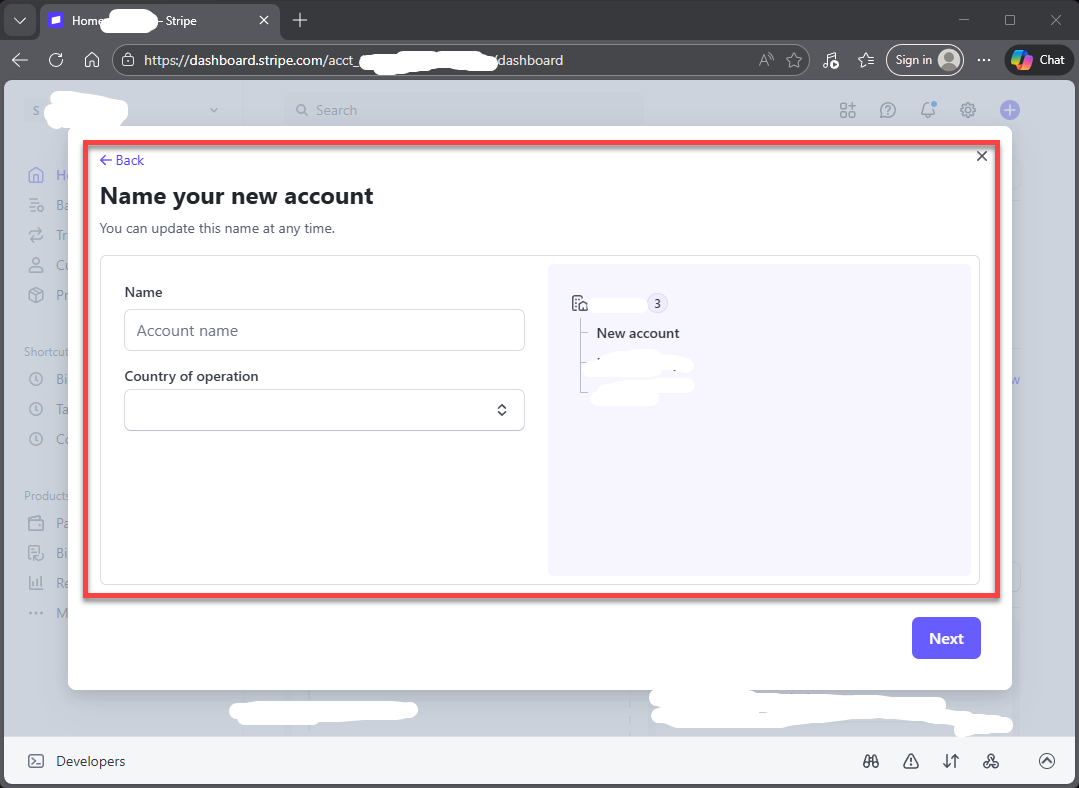
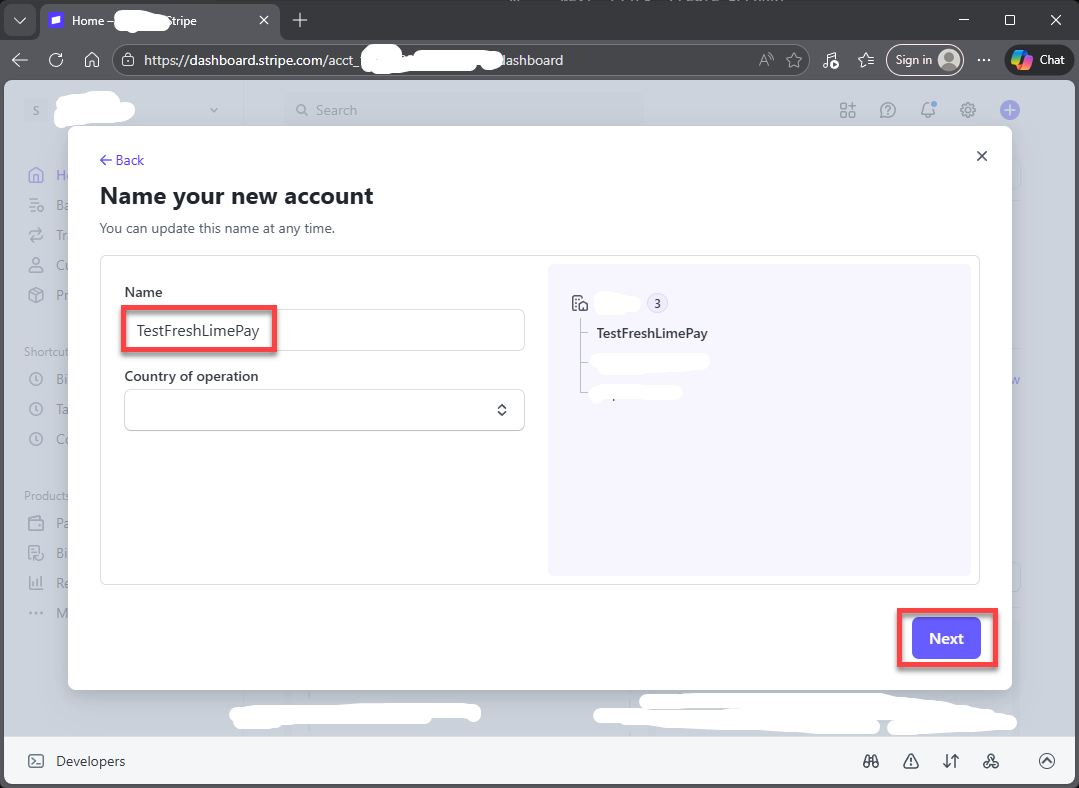
Next, enter "TestFreshLimePay" and click "Next":
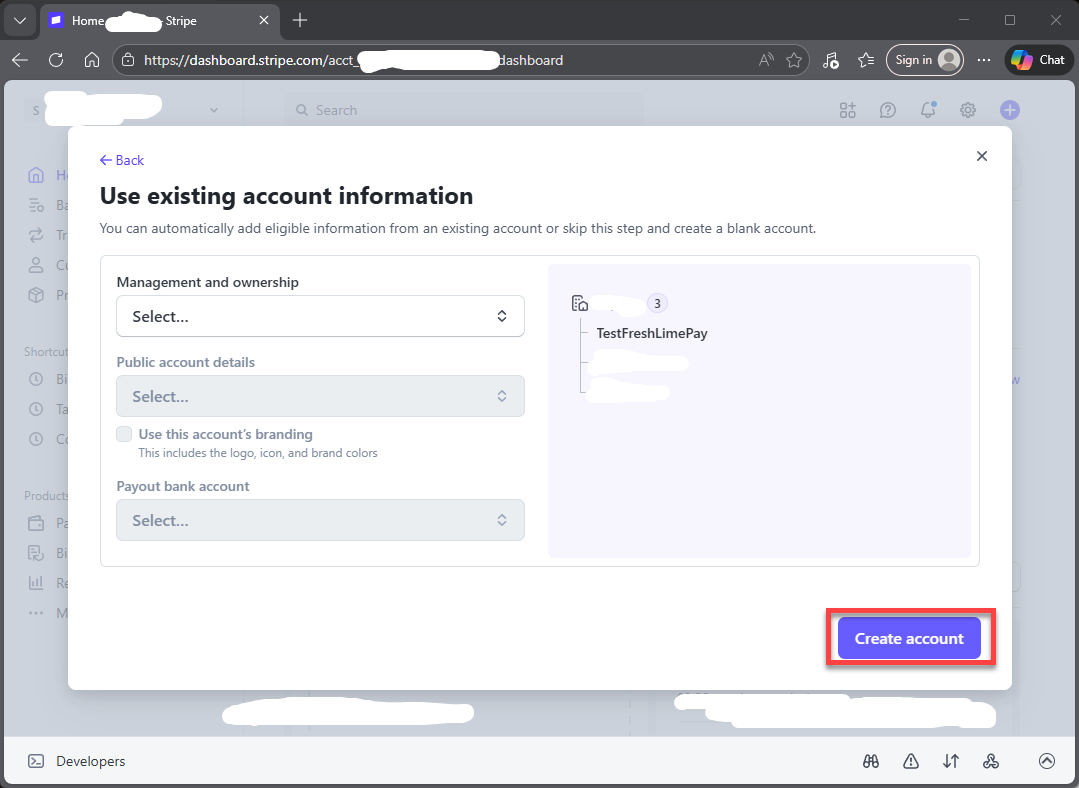
Next, a new dialog will be shown like this(simply skip this) and click "Create Account":
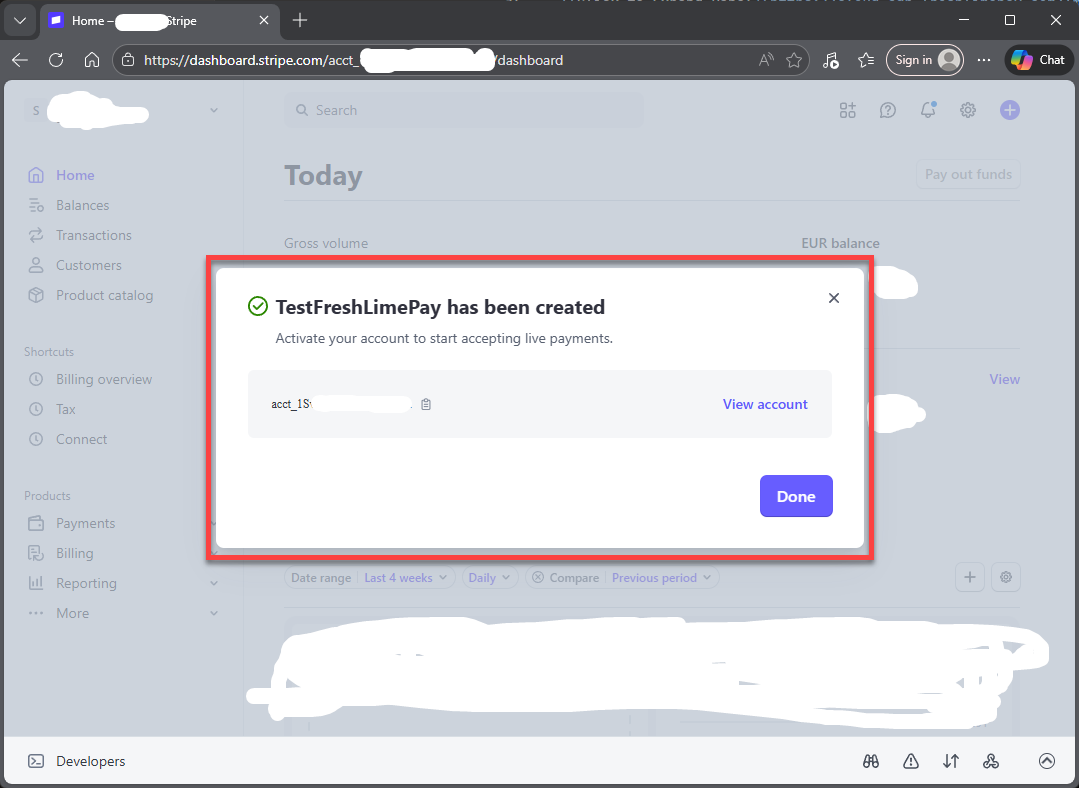
Wait a moment and then you will see a new dialog will be shown like this:
## 3. Copy Your Publishable and Secret Key
Once the app is created, your credentials will be visible immediately.
* Publishable Key
* Secret Key
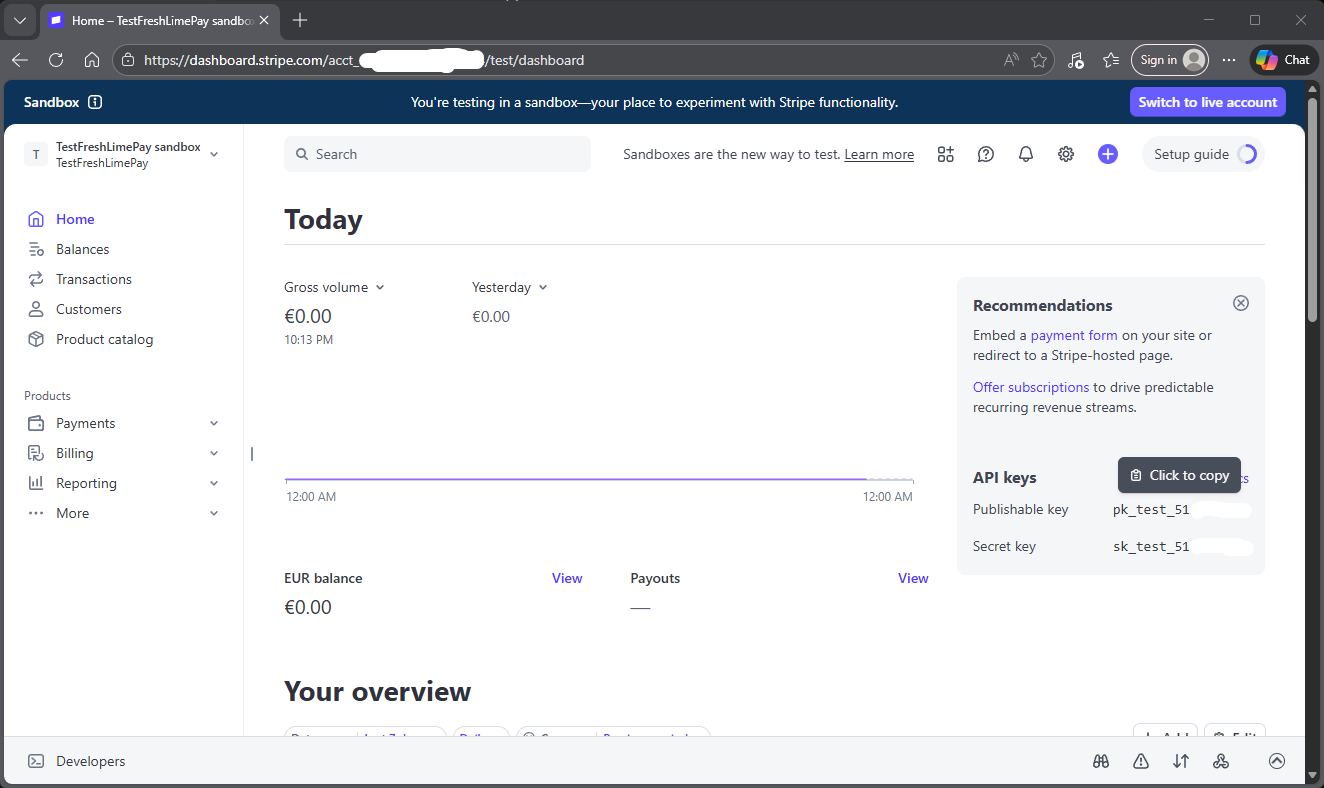
Keep your Secret Key. Never expose it publicly.
## 5. Add Your Credentials to FreshLimePay Cloud
### Sign in
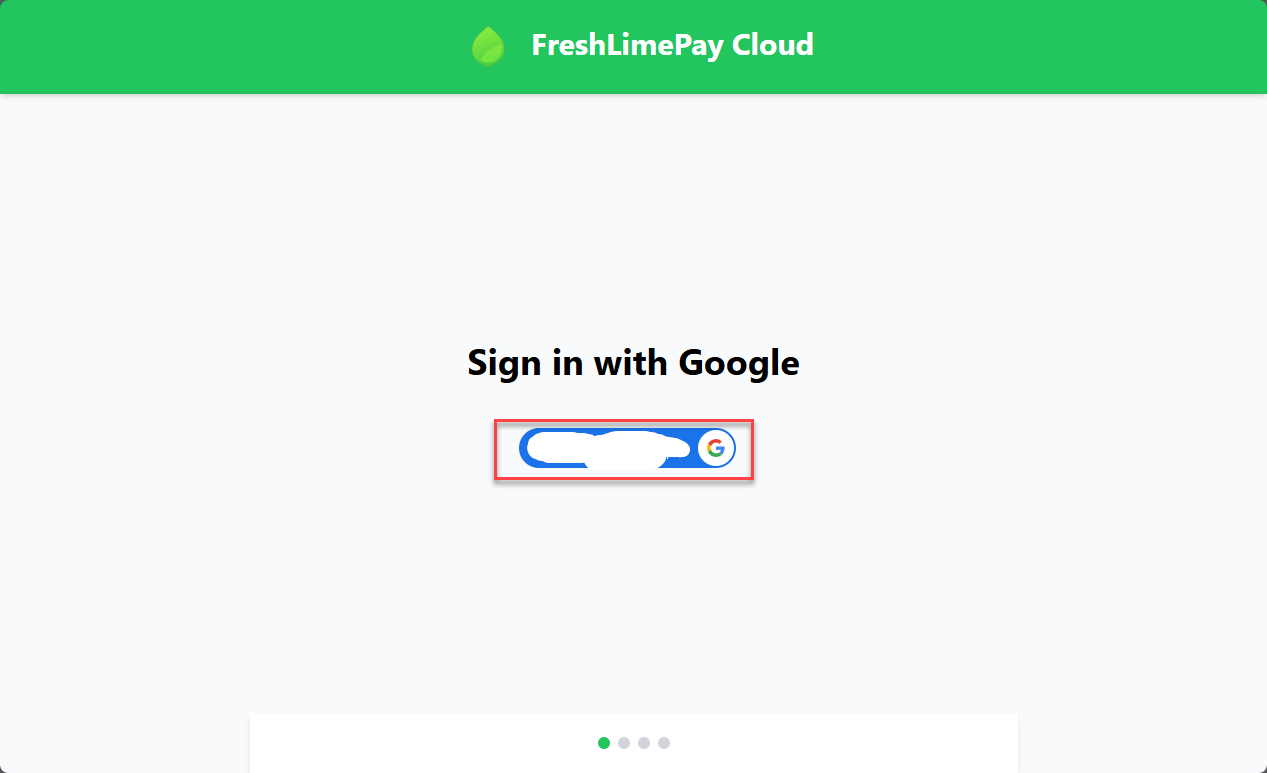
Sign in to FreshLimePay Cloud using your Google account.
### Update settings
Go to your settings page:
[https://cloud.freshlimepay.com/get-started/update-settings](https://cloud.freshlimepay.com/get-started/update-settings)
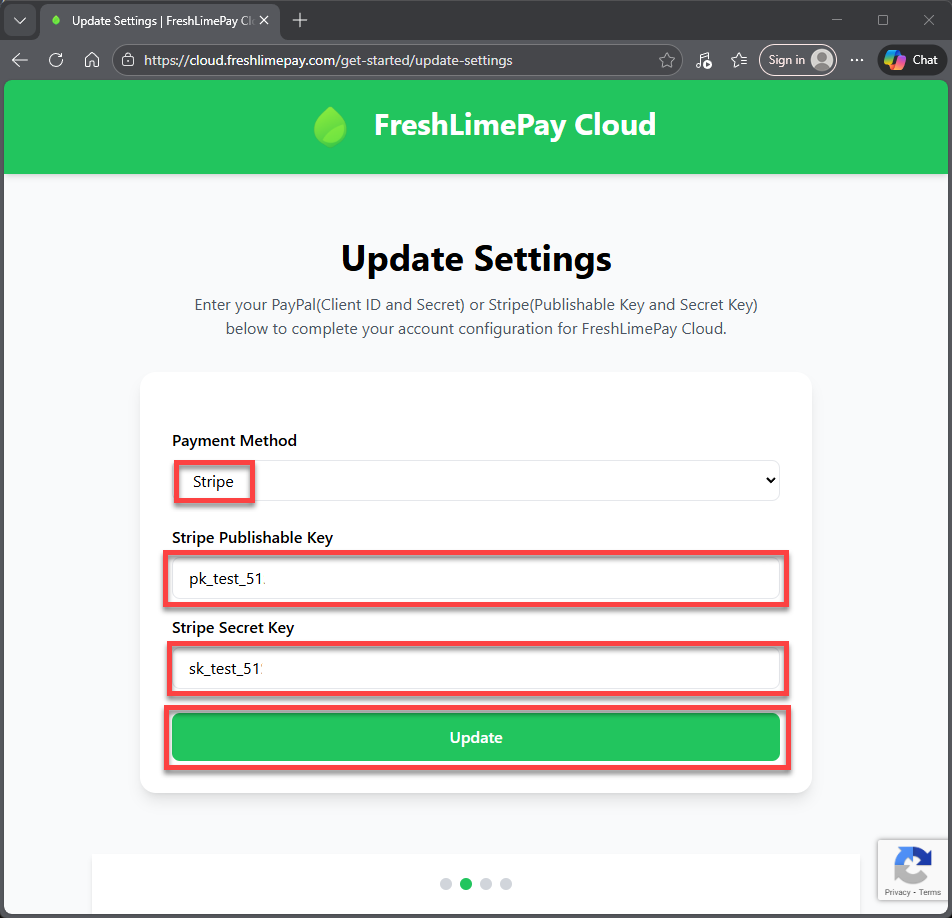
Paste your **Publishable Key** and **Secret Key**, then click **Update**.
### Start accepting payments
After connecting:
* Add products for one-time or subscription payments
* Generate checkout buttons or links
* Embed them on your site or app
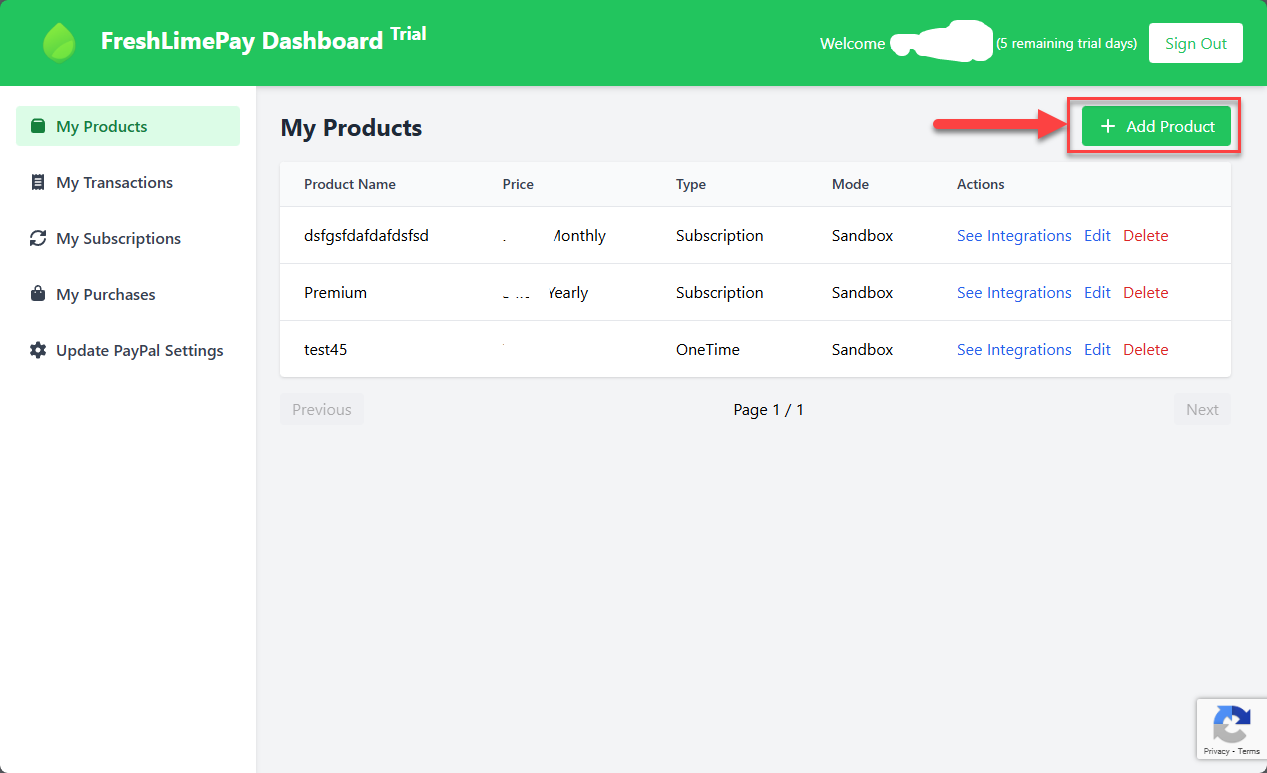
You can now accept Stripe payments directly into your account.
## What's next?
Set up a one-time Stripe checkout button and embed it directly on your website or app.
Create subscription-based Stripe buttons for recurring payments with secure, automatic payouts.