

1. Set Up Your PayPal Credentials
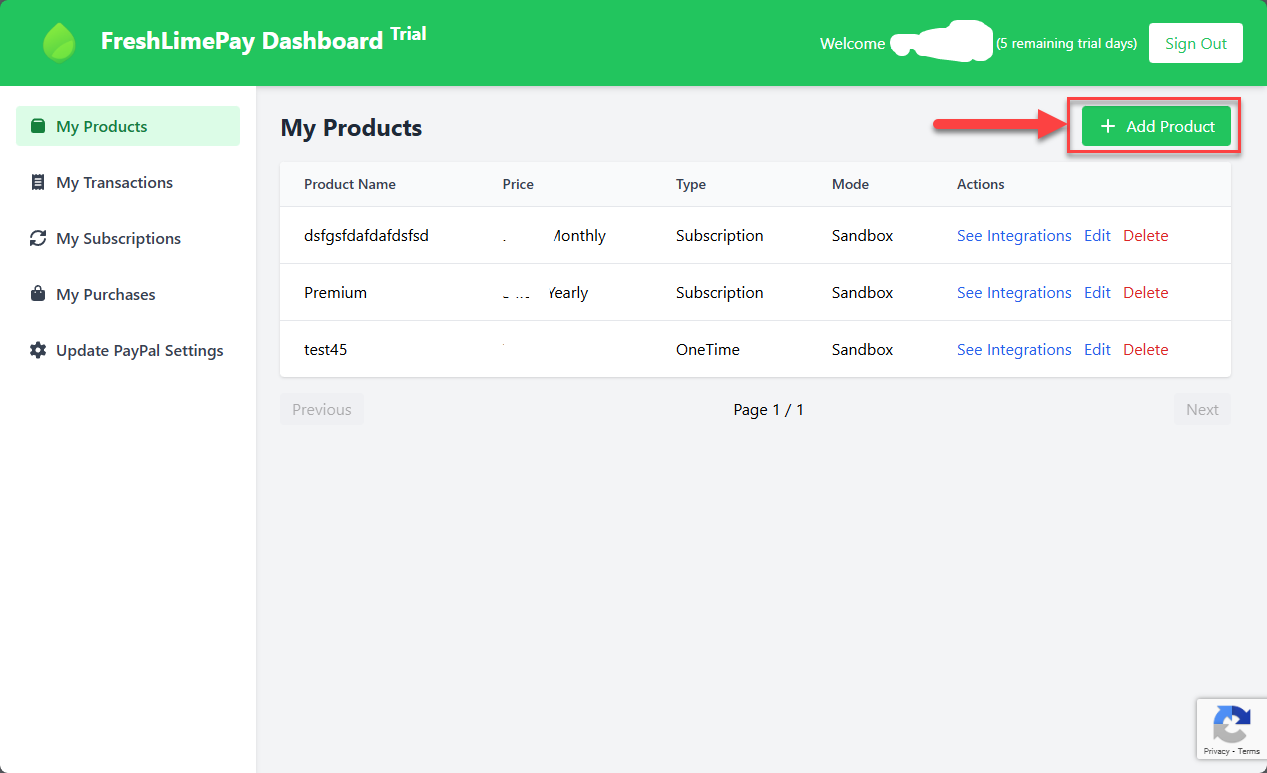
See the detailed guide here.2. Add a New Product
Each product represents a payment configuration. A product can support the following payment types:- One-Time — for single payments
- Subscription — for recurring monthly or yearly payments
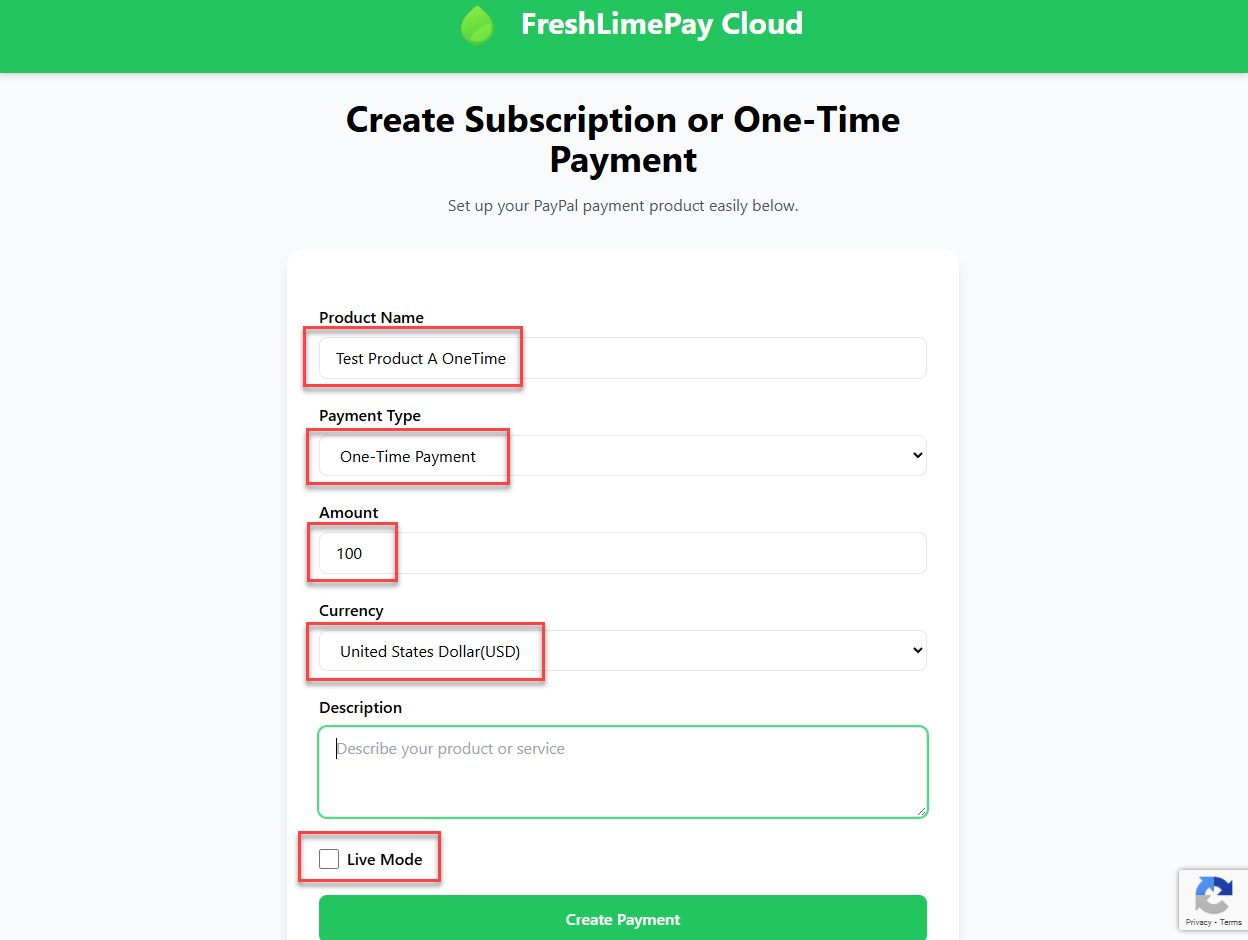
 You will see the following screen:
 Enter all required values:
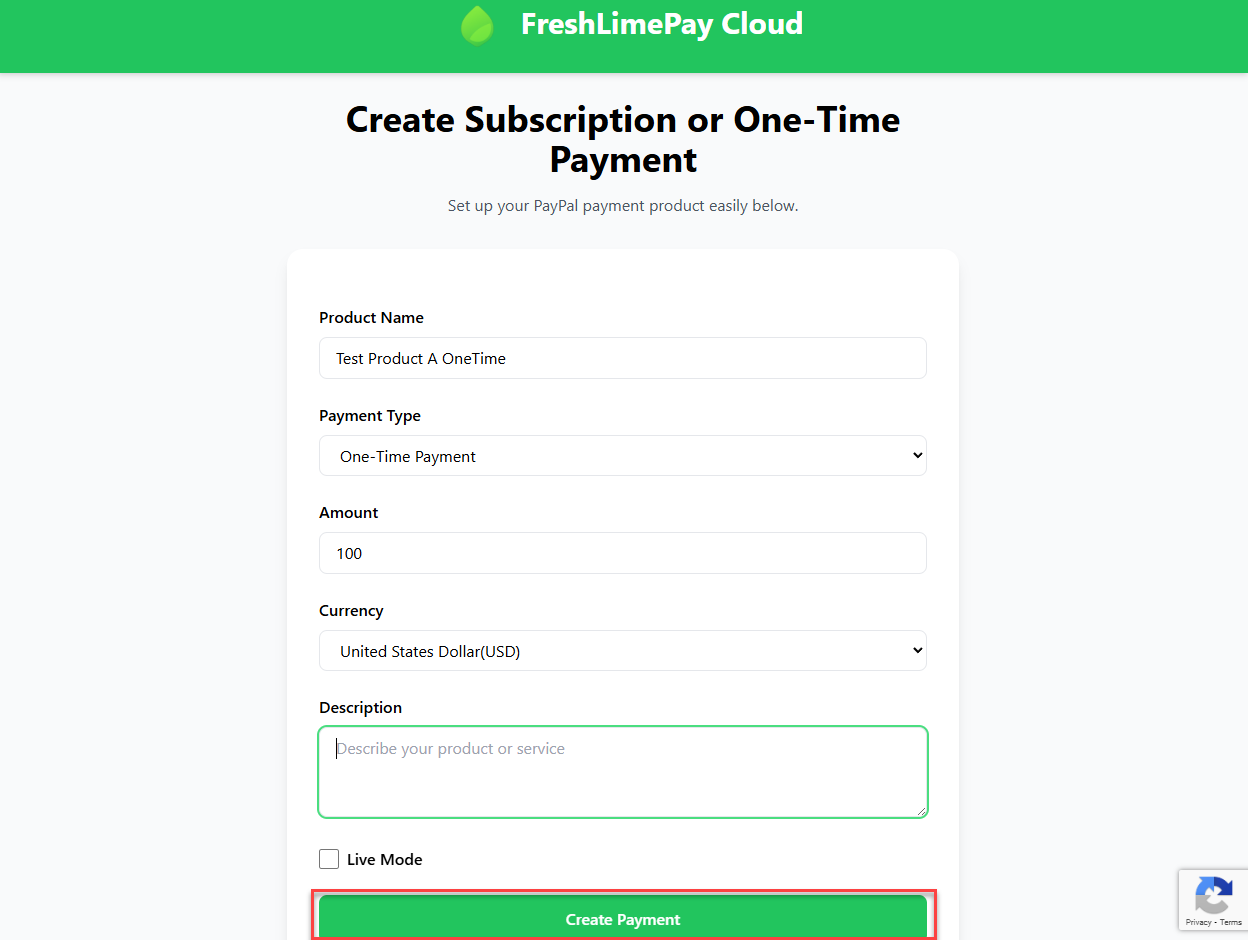
 Click Create Payment:
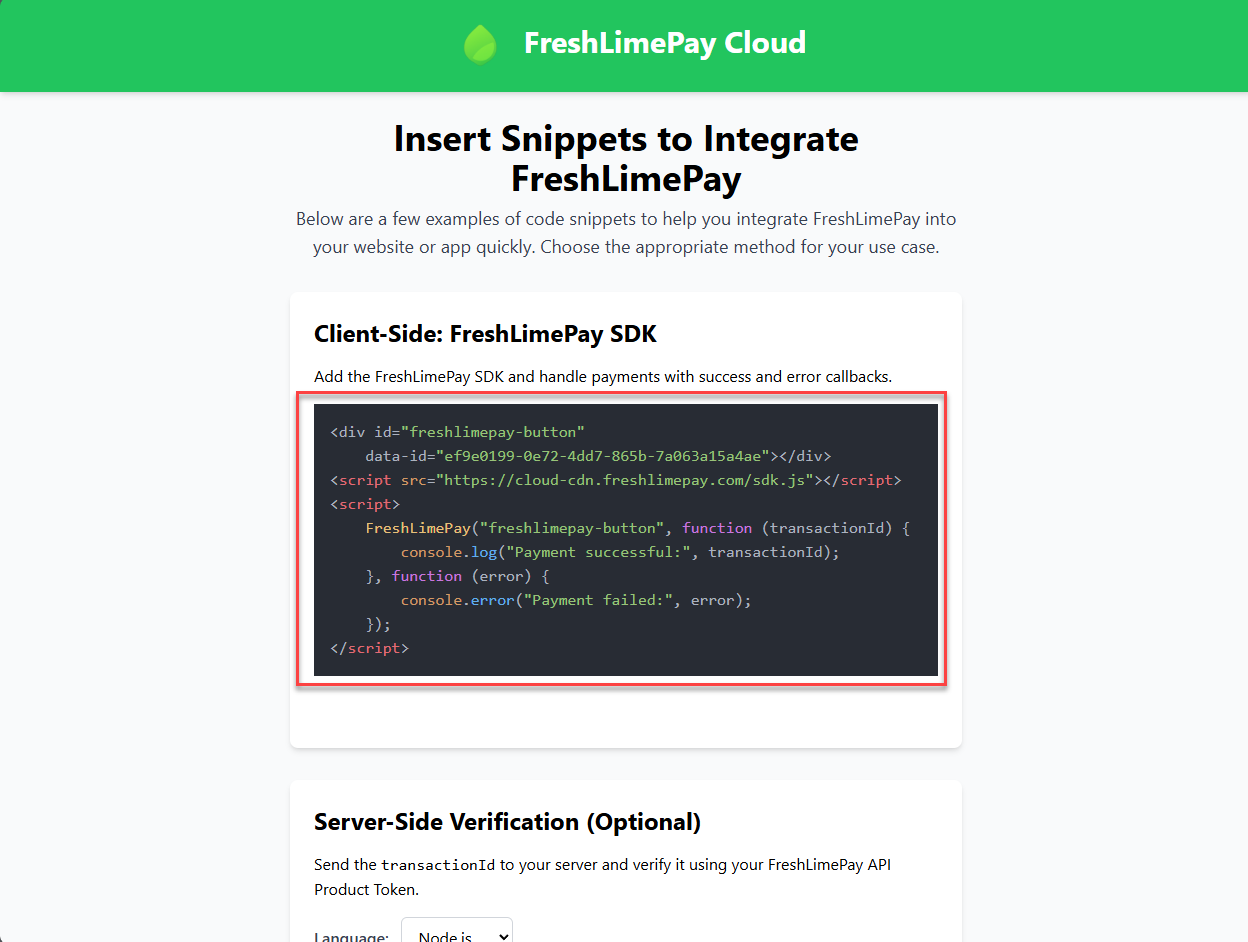
 You’ll then see the Settings overview for adding the integration into your website:
3. Create a Simple Website for Integration
This guide uses Visual Studio Code to create a basic webpage:- Download and install Visual Studio Code here
-
Open Visual Studio Code:
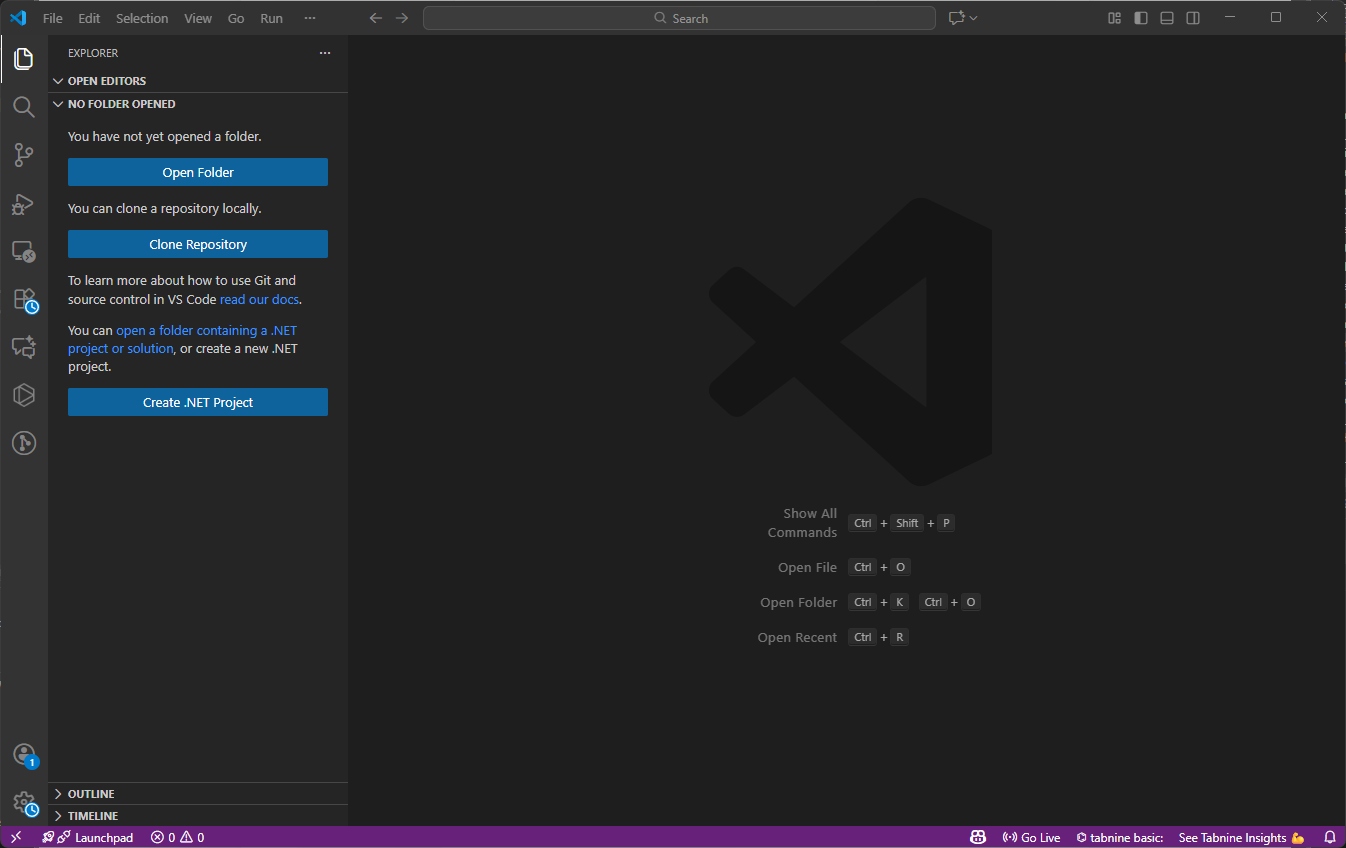
-
Click Open Folder:
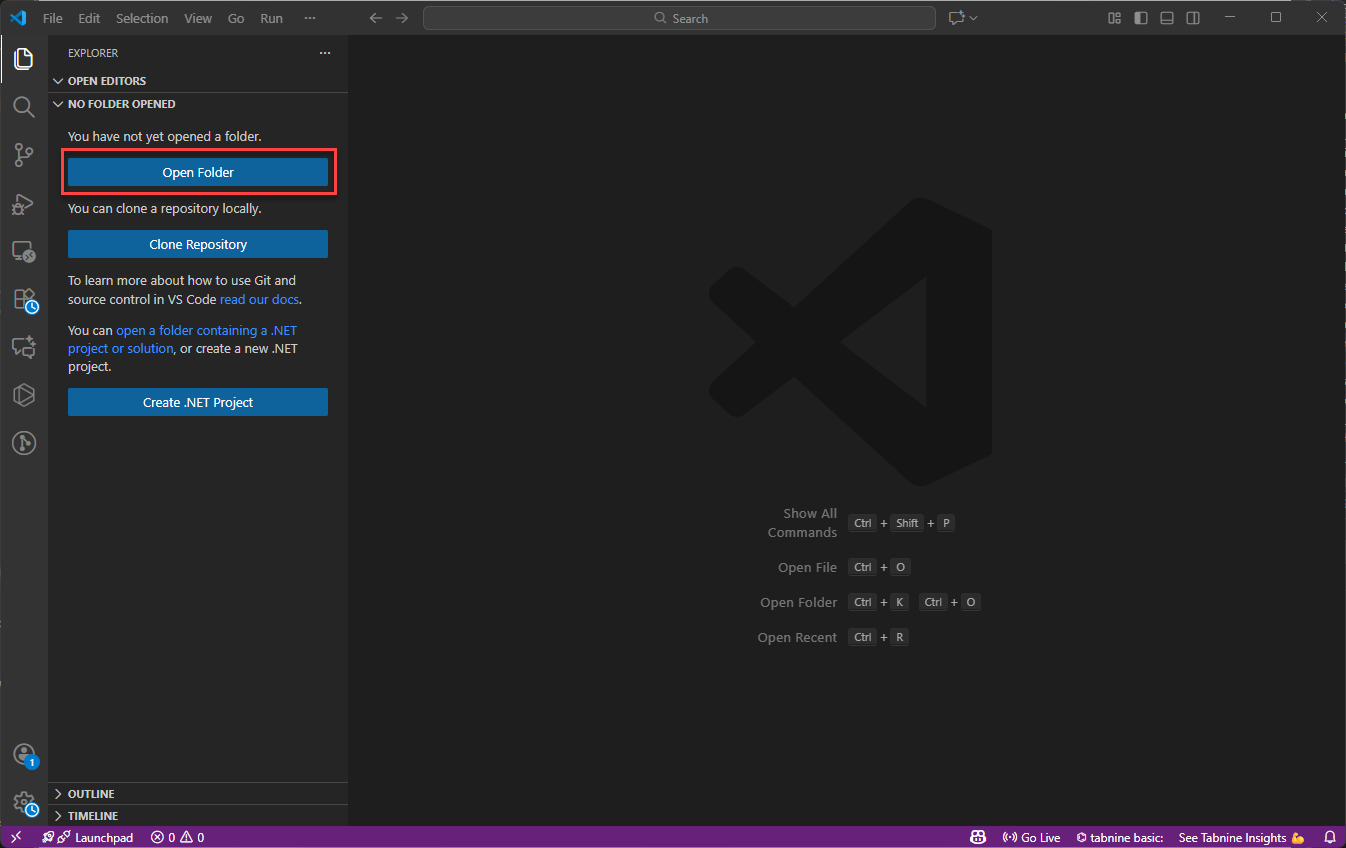
-
Select or create a folder:
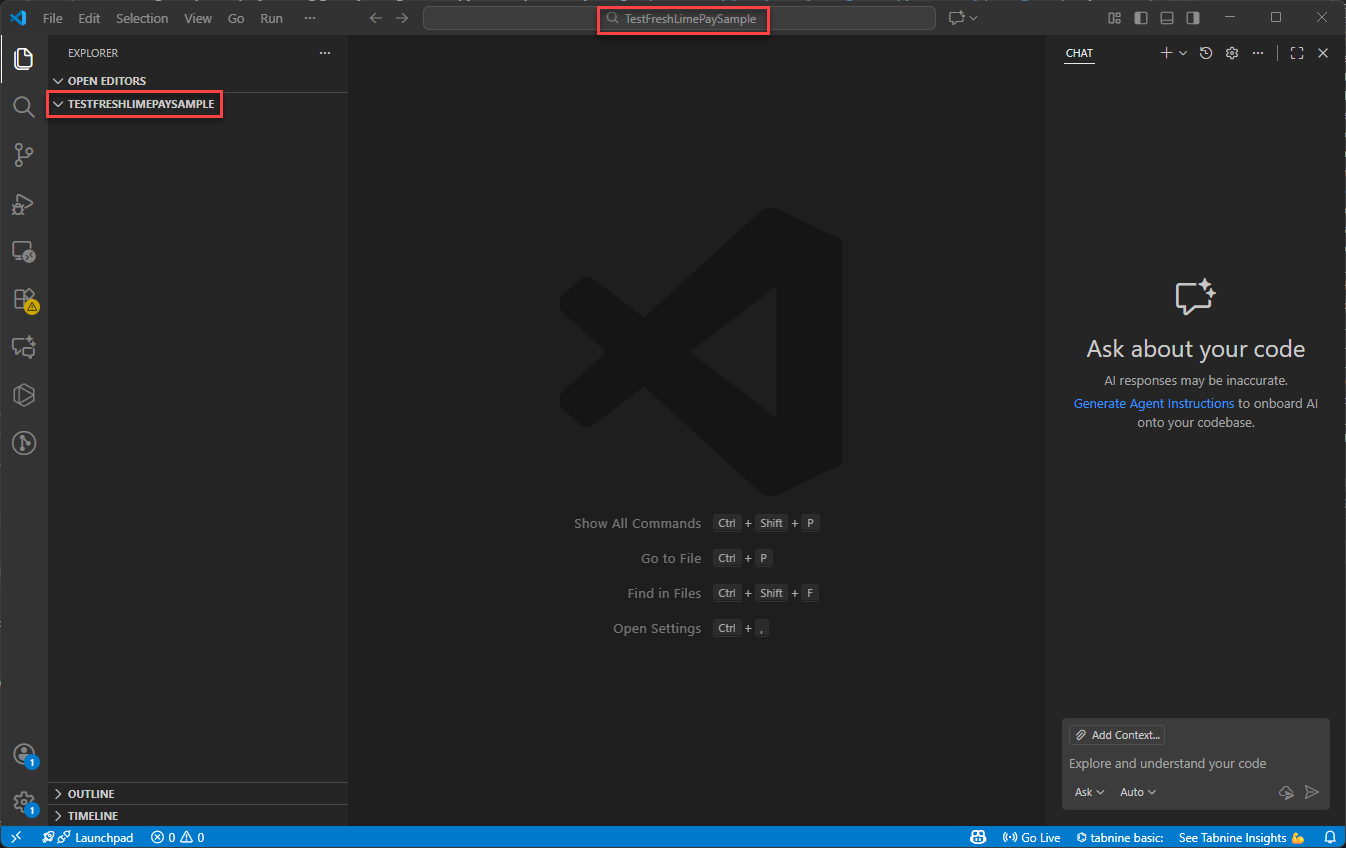
-
Right-click the folder and choose New File…:
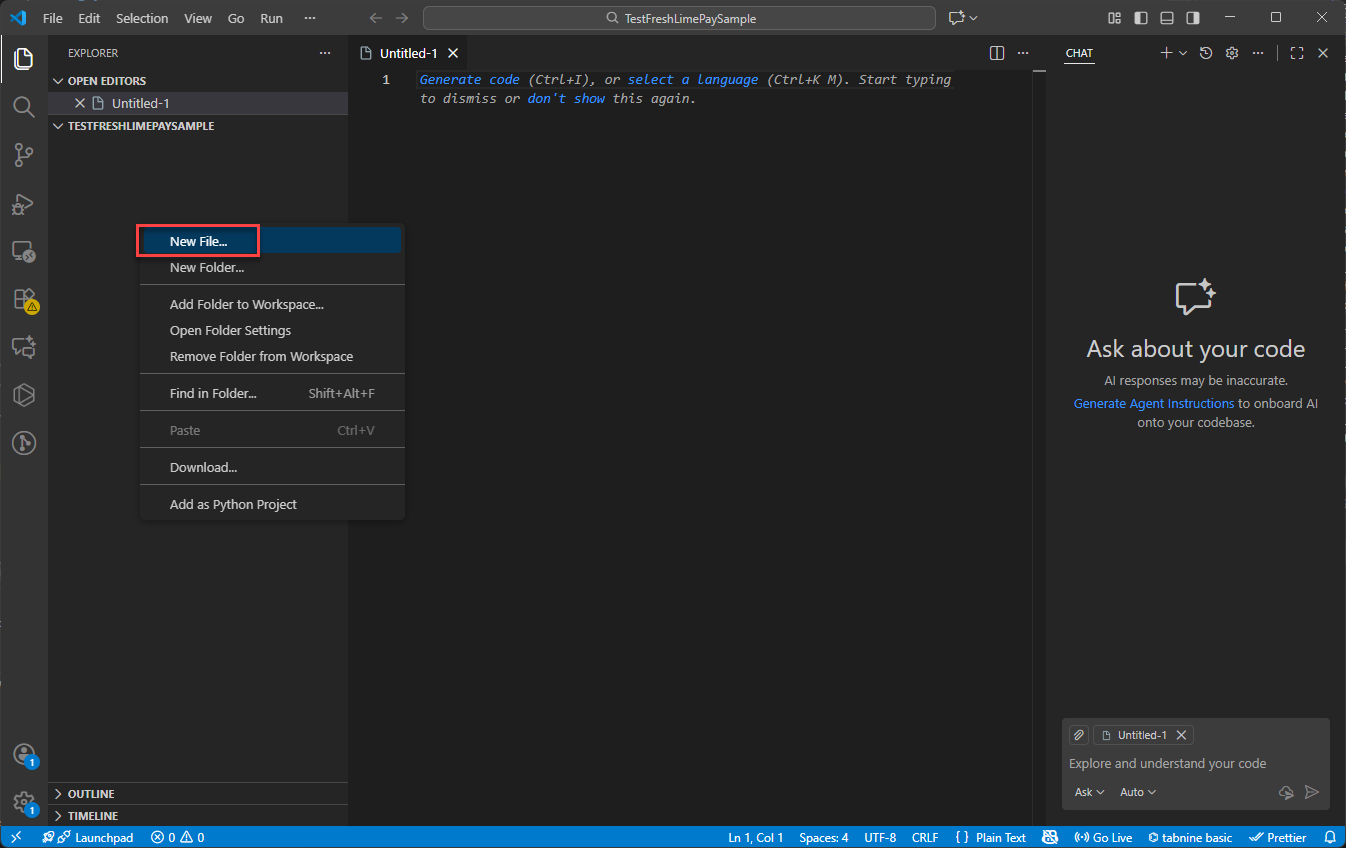
-
Name the file
index.html: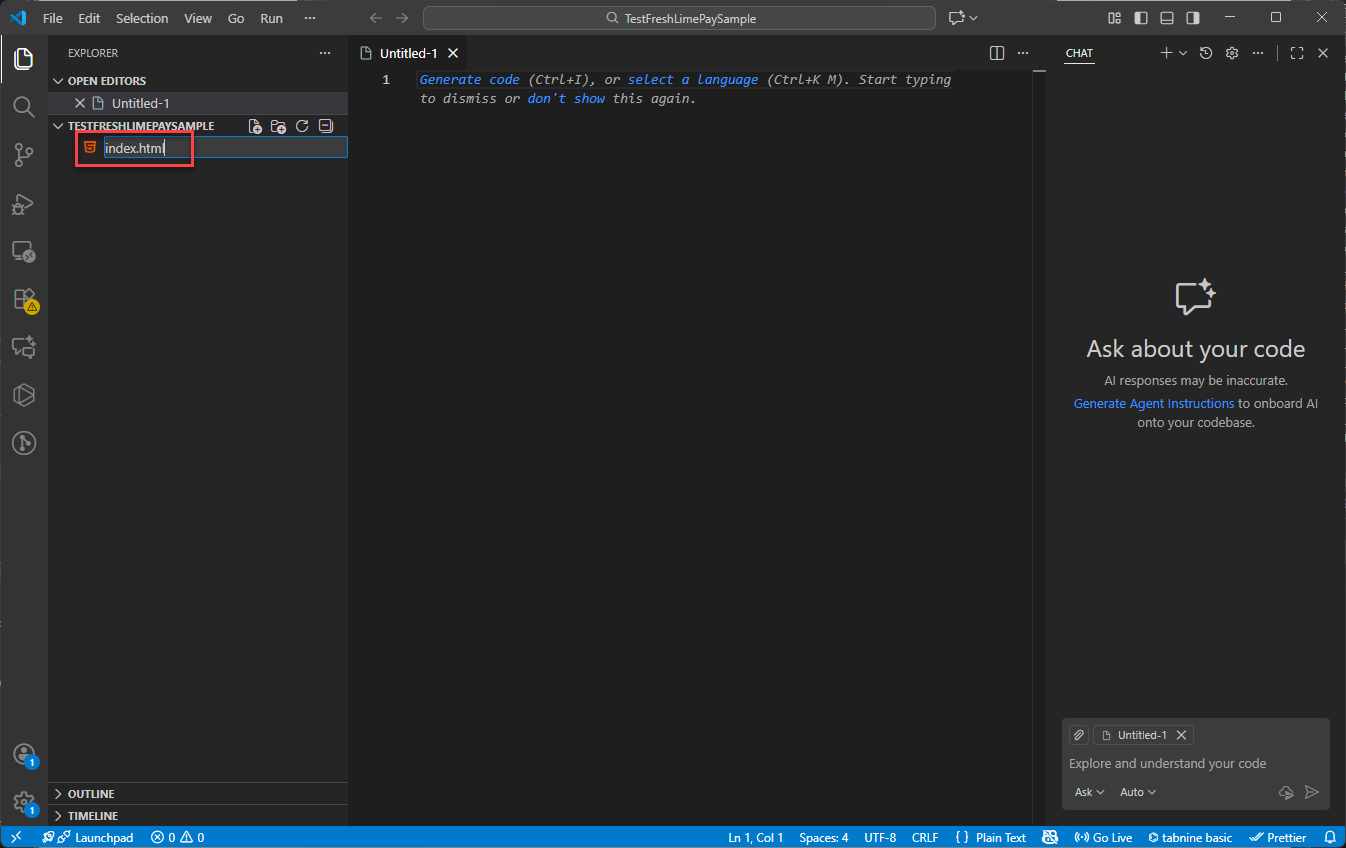
-
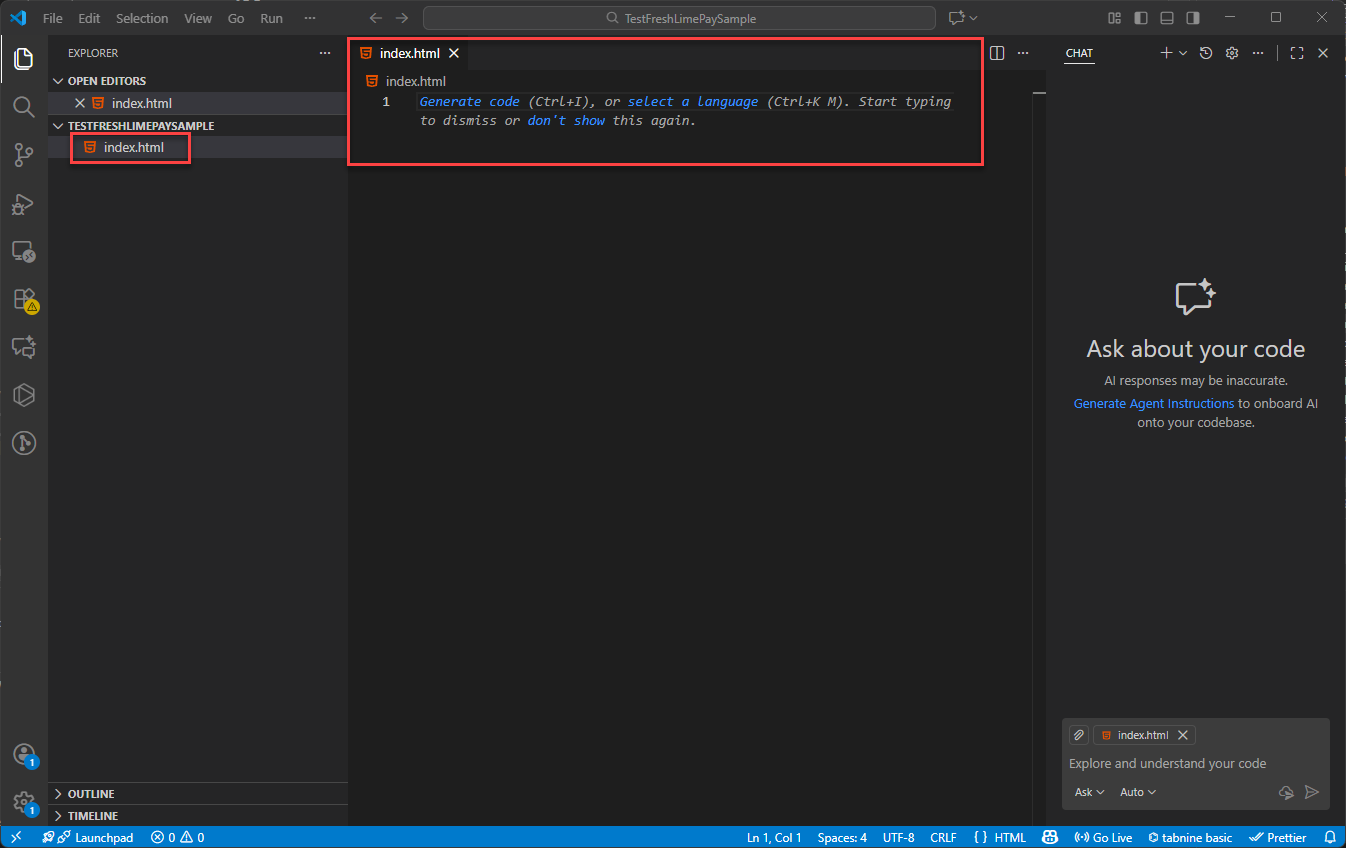
Press Enter to create the file:
4. Integrate PayPal Payments Using FreshLimePay
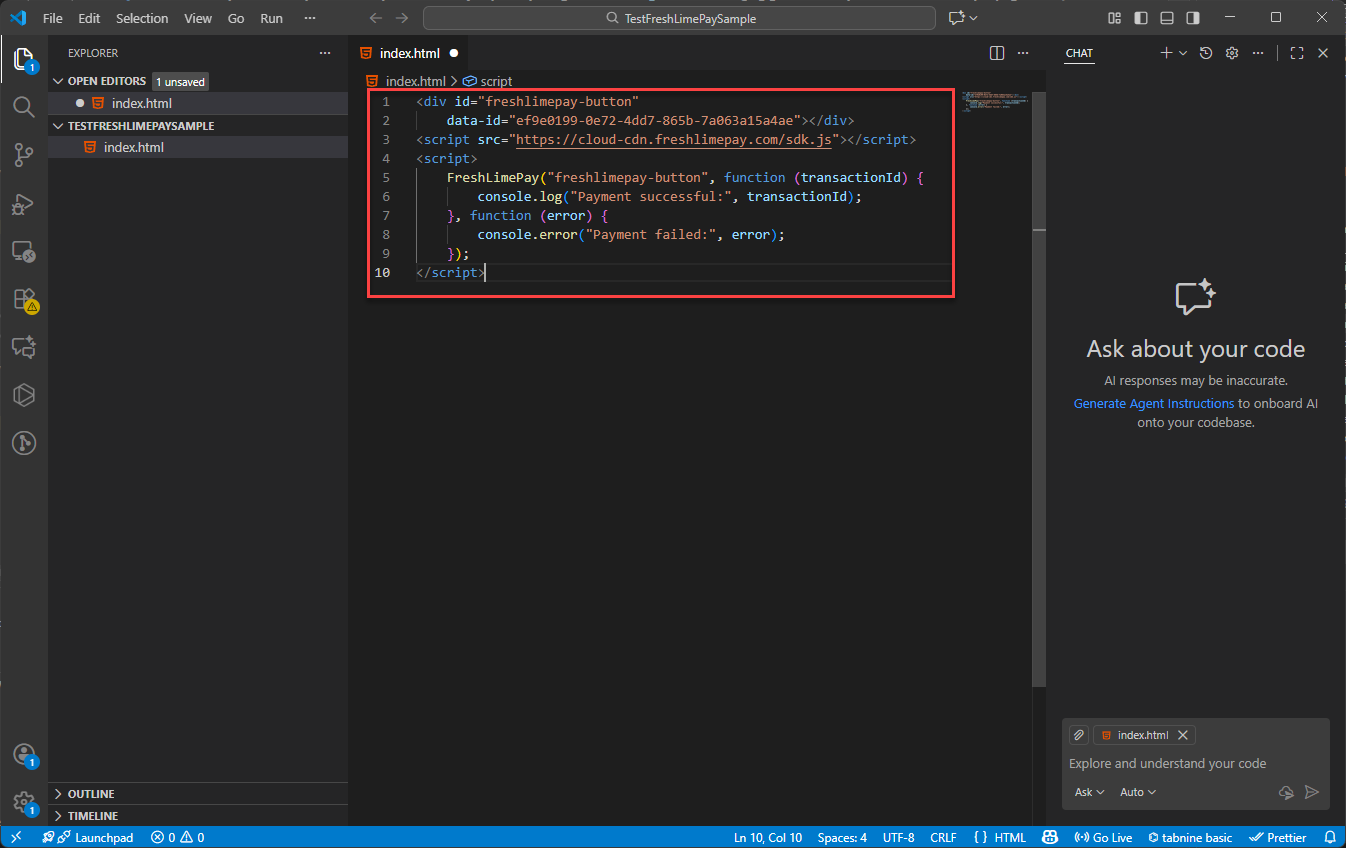
Copy the HTML snippet provided in the product settings:
Paste it into index.html in Visual Studio Code:
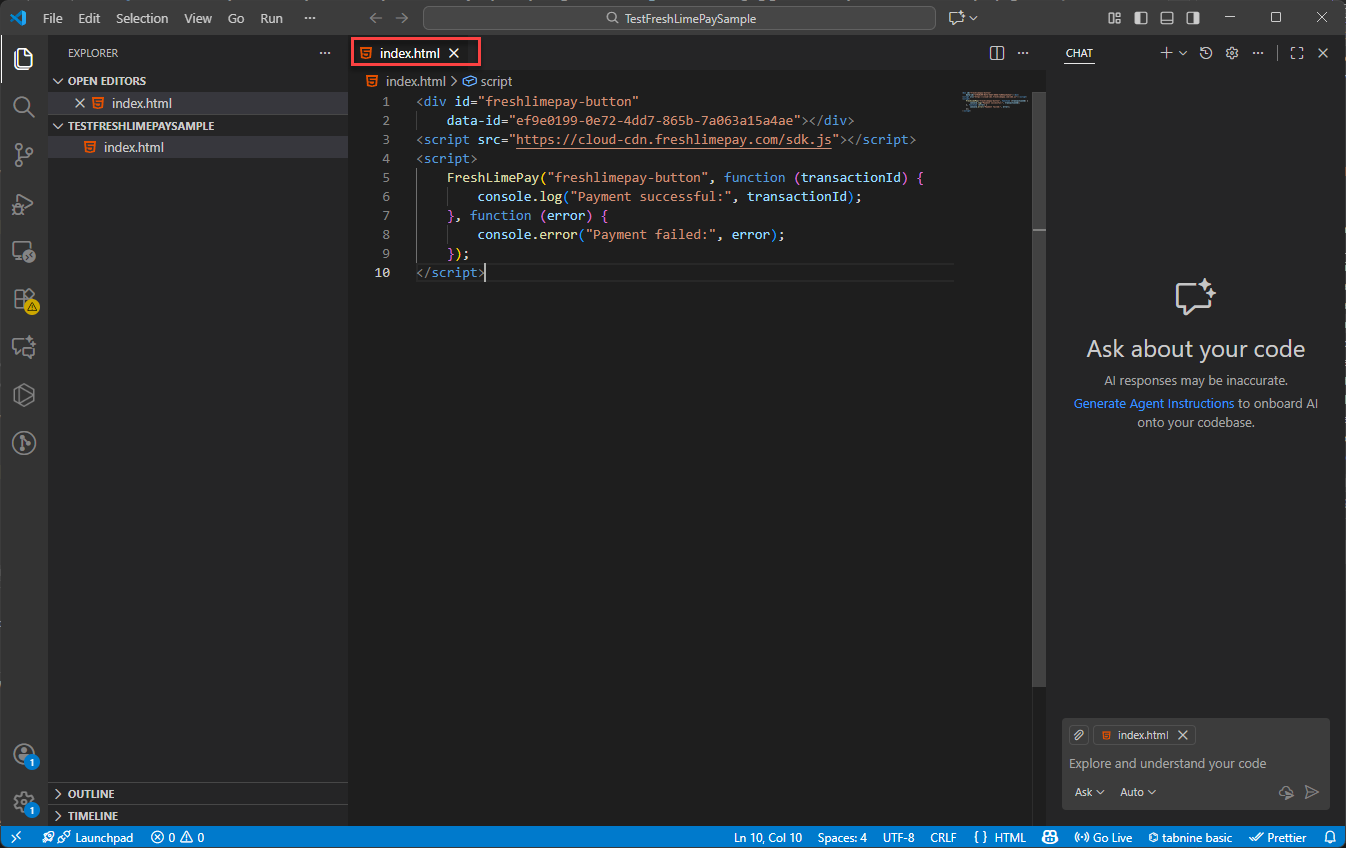
 Press Ctrl + S to save:
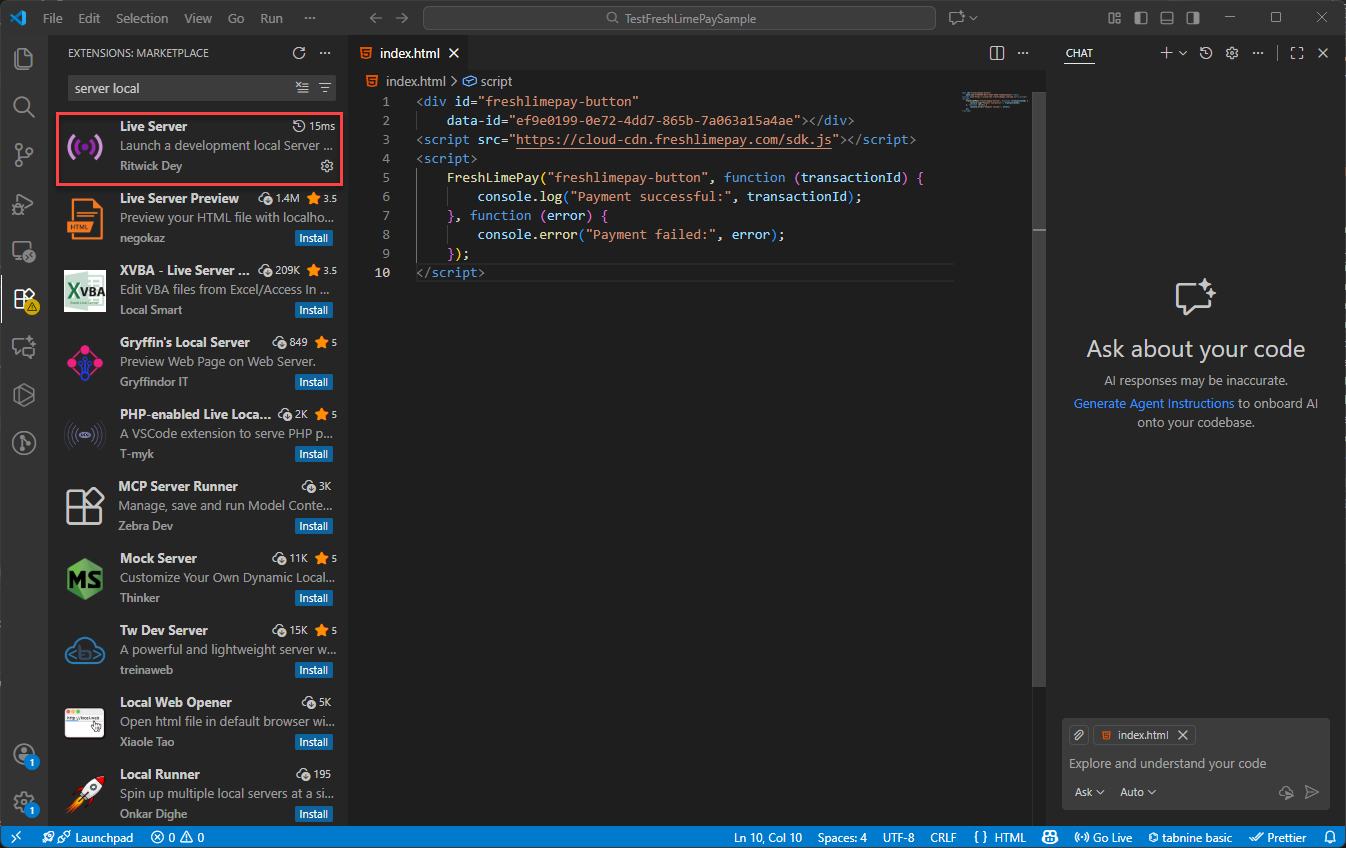
 Ensure the Live Server extension is installed:
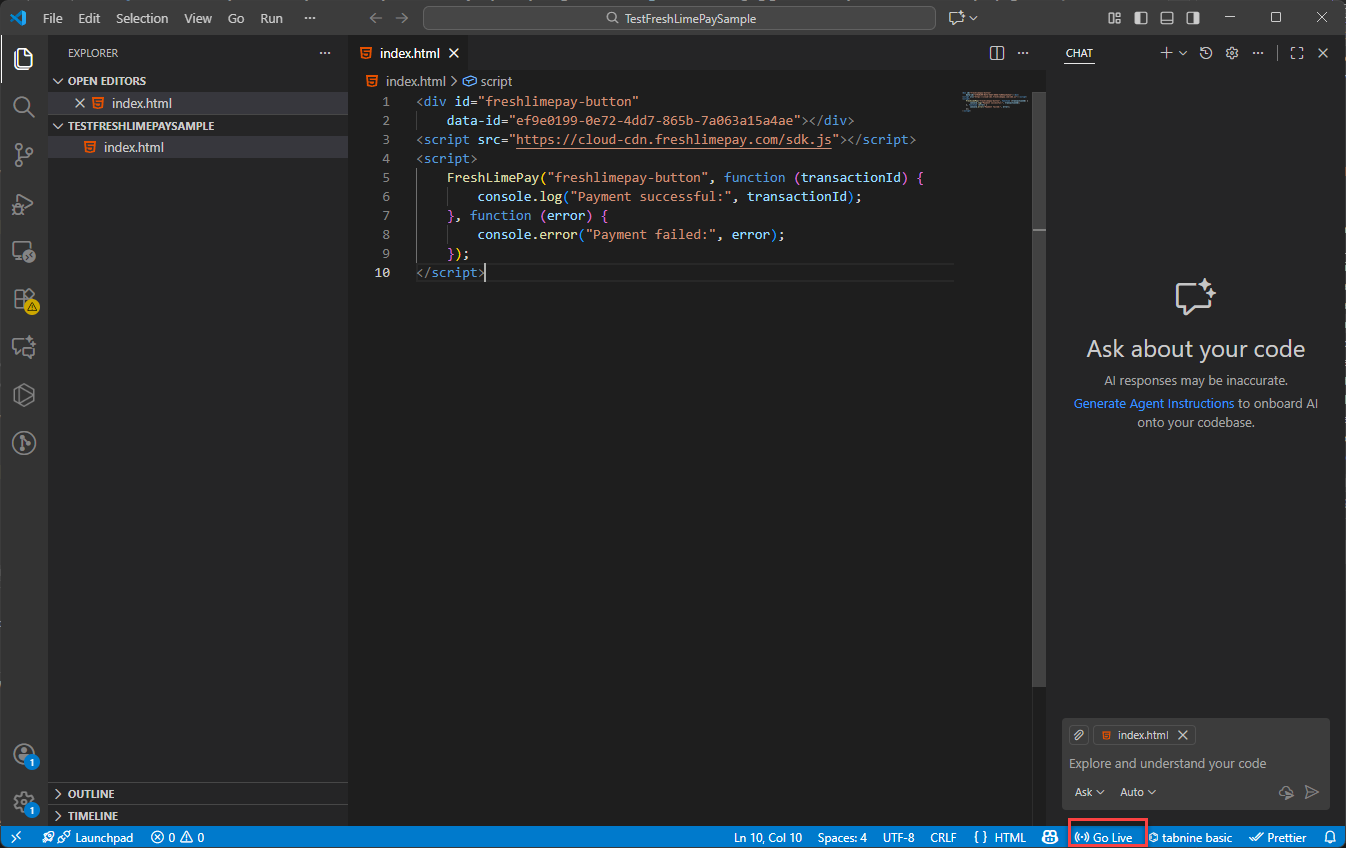
 Click Go Live to launch your page:
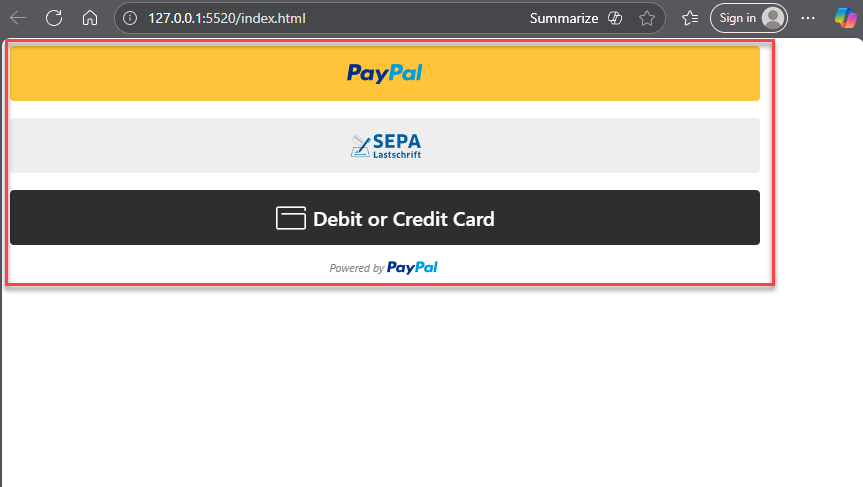
 You’ll then see the integration running in your browser:
5. Test the PayPal Payment
Since the product was created in the Sandbox environment, you must use a PayPal Personal Sandbox account to test the payment.Follow this guide to create a sandbox account: Create Personal Sandbox Account As shown throughout this guide, you can integrate PayPal payments into your website within minutes using FreshLimePay Cloud — no PayPal expertise required.
You can create as many payment buttons as you need.