

Prerequisite: Complete the standard Integrate Stripe guide first.
1. Complete Standard Stripe Integration
Before setting up Stripe Connect, ensure your Stripe business account is fully integrated with FreshLimePay Cloud:- You have created a Stripe account.
- You have generated Publishable Key and Secret Key.
- You have connected your Stripe credentials in FreshLimePay Cloud.
2. What is Stripe Connect?
Stripe Connect is Stripe’s solution for marketplaces and platforms. It was created because:- Platforms often need to accept money from customers and pay multiple sellers.
- Manually managing payouts, tax compliance, and account verification is complex.
- Stripe Connect automates KYC, payouts, fees, and compliance, making marketplace payments easier and safer.
- Without Stripe Connect → only your business account can receive payments.
- With Stripe Connect → your platform can onboard multiple sellers and manage payouts automatically.
3. Set Up Stripe Connect
Stripe Connect allows platforms and marketplaces to onboard other sellers and collect fees automatically.Steps:
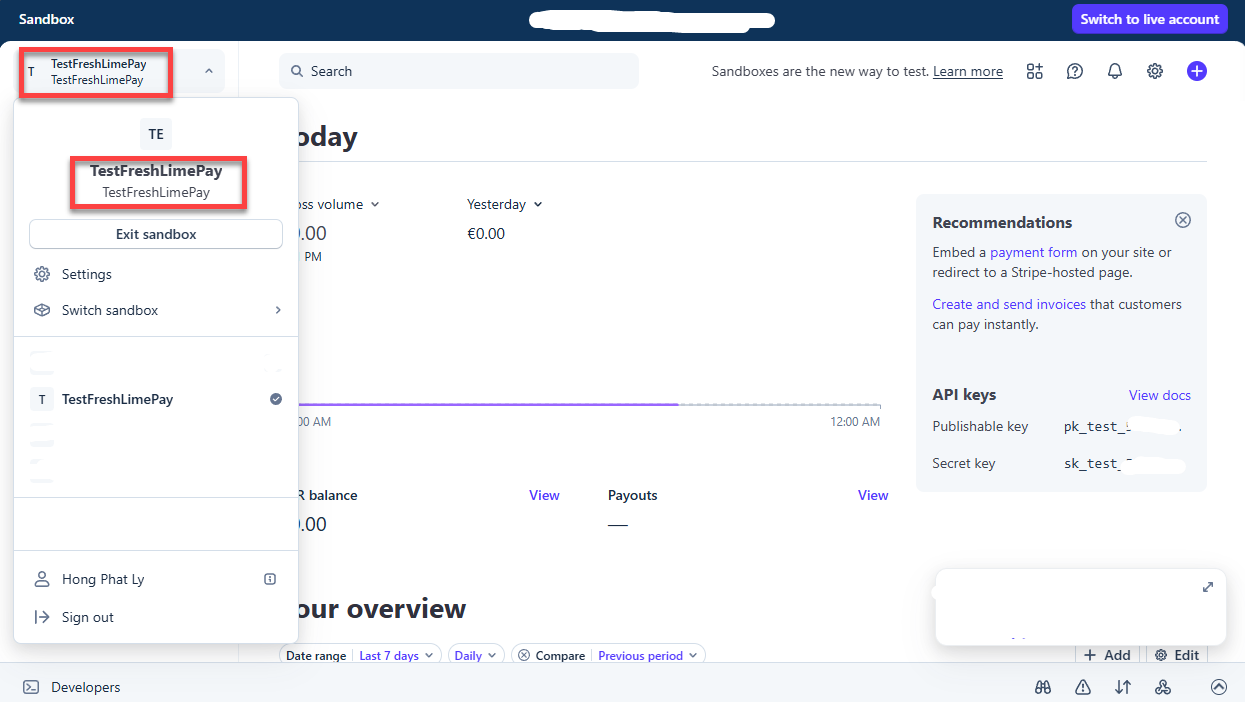
- Go to your Stripe dashboard.
- Choose one Stripe account.
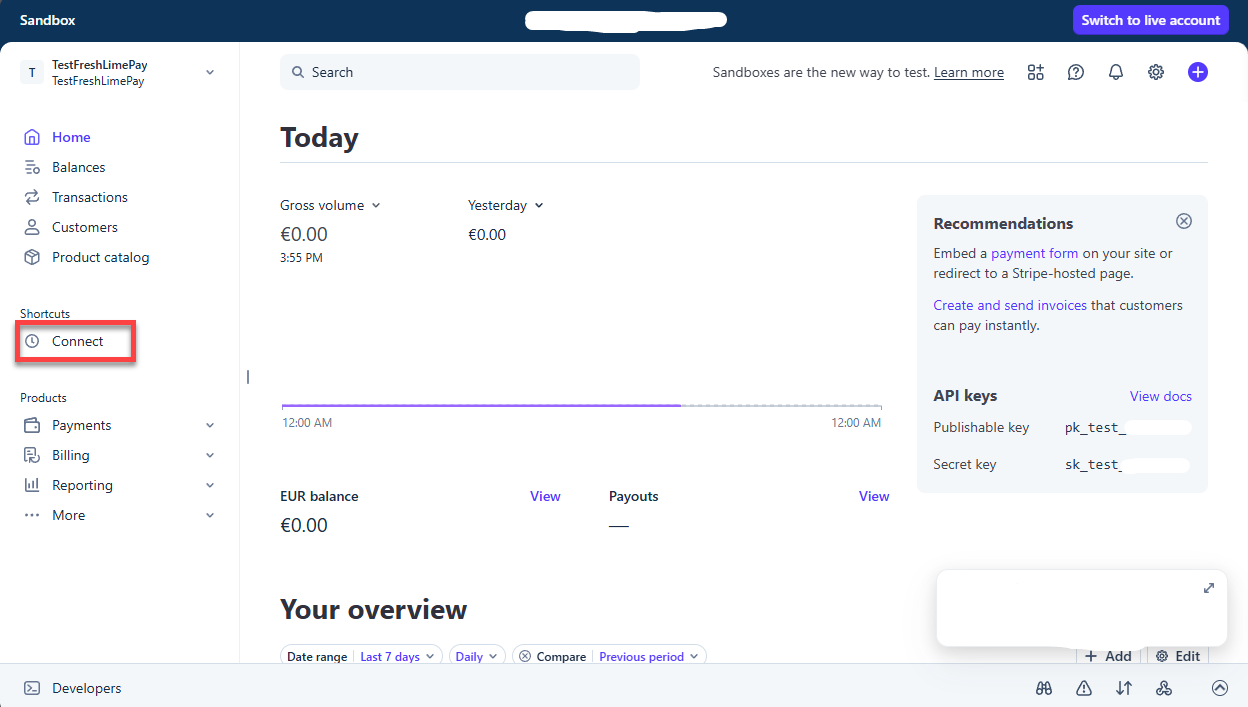
- Navigate to Connect.
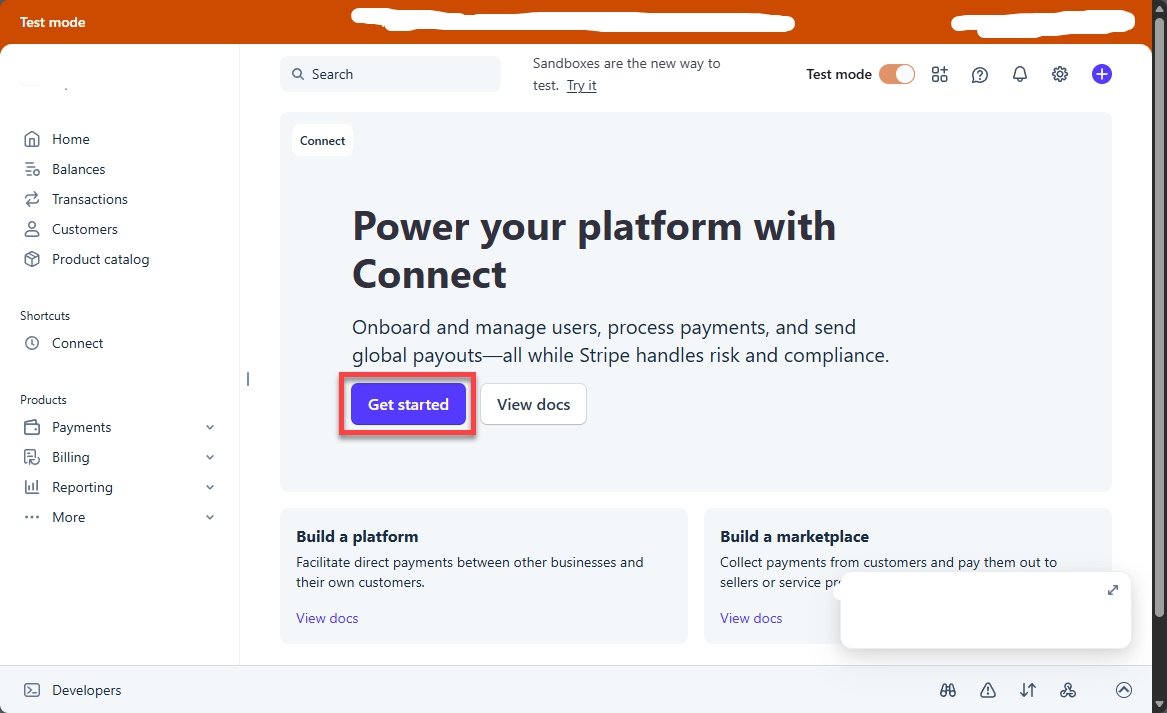
- Click on Get Started.
- Choose your business model.
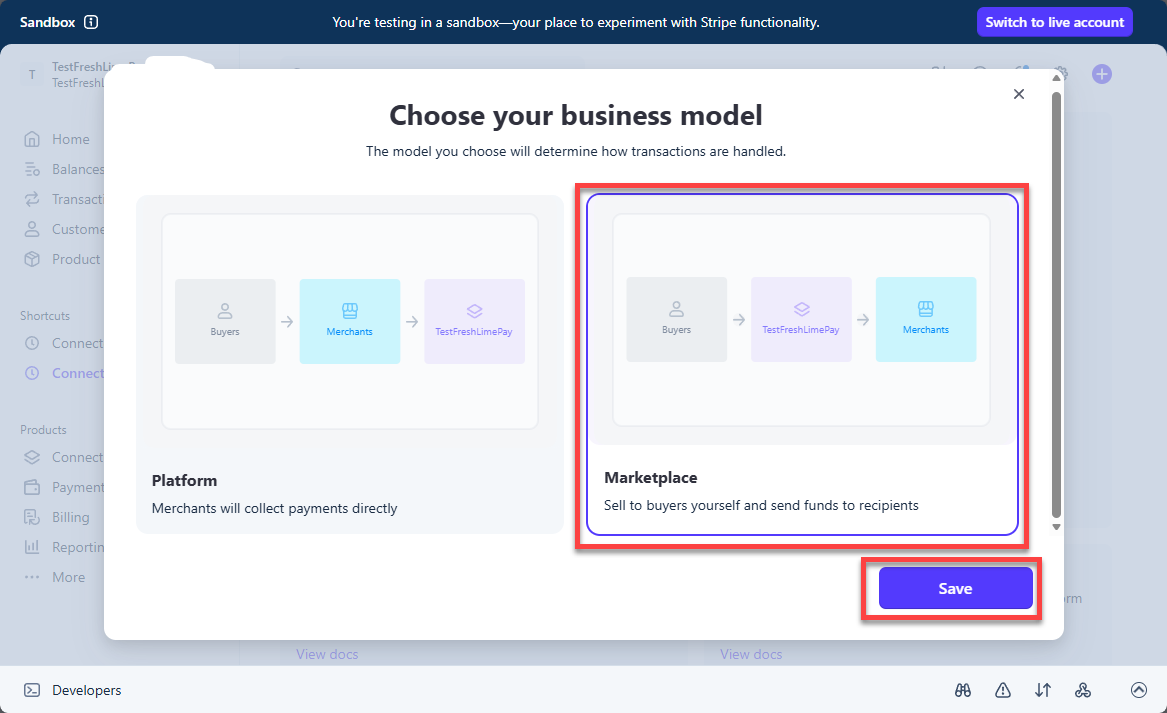
- Completed.
Stripe Connect is required for marketplaces or platforms where you want to route payments to other sellers and optionally collect fees automatically.
5. What’s Next?
Create One-Time Payment Button
Learn how to create checkout one-time buttons that pay connected accounts and include application fees automatically.
Create Recurring Payment Button
Learn how to create checkout recurring buttons that pay connected accounts and include application fees automatically.